


Big Walk Green Tower Guide: How to Solve Every Puzzle and Unlock the Chairlift
After finishing the Red Tower, the Green Tower becomes your next major challenge in Big Walk. Instead of focusing on a single mechanic, this area introduces five unique cooperative puzzles that require communication, observation, and teamwork. Completing every puzzle rewards you with collectibles needed to obtain the Green Key, which unlocks the chairlift and opens access to more areas of the game. This guide explains every Green Tower puzzle, where to find them, and the easiest way to complete each one.
Before You Start the Green Tower
Before solving any puzzles, head to the rooftop of the Green Tower and locate the Green Receiver. This device contains five empty slots where you’ll eventually place all of the Green collectibles. Knowing where the receiver is early saves time later, since you’ll return here after finishing every puzzle.
Puzzle 1: Hidden Switch (Coordinates 4166, 1899)
This is usually the first puzzle players complete because it’s close to the area used during the Red Tower.
One player should remain beside the locked collectible box while another opens the Foldable Map and travels to the coordinates:
- 4166, 1899
The location is near the red train tracks, surrounded by several rocks. Search behind the rocks until you discover a hidden switch.
Pressing the switch immediately unlocks the collectible for your teammate waiting at the box. Once the item is collected, both players can continue to the next puzzle.
Puzzle 2: Orange Barn
The Orange Barn puzzle is one of the most memorable sections because it removes your ability to communicate normally.
Start by having both players press the buttons beside each entrance. Doing so unlocks the collectible but also traps one player inside the barn behind a barrier.
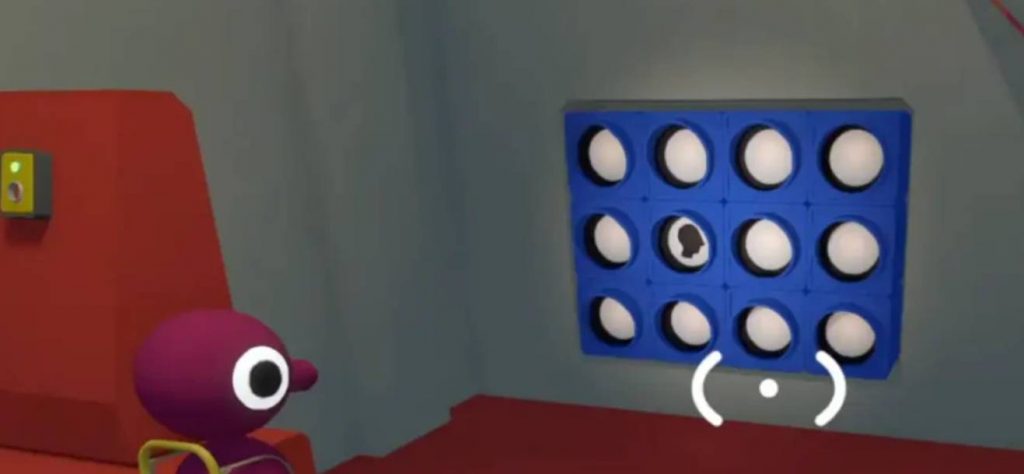
The player outside should search one of the nearby pillars to find another hidden switch. Activating it displays a pattern on the pegboard.
Meanwhile, the trapped player must recreate that exact pattern. Since voice communication is blocked, both players need to rely on gestures, movement, or knocking against the barrier to exchange information.
Once the pegboard matches the displayed design, the barrier disappears and both players can continue.
Puzzle 3: Blue Signal
Travel to the green climbing structure that resembles a playground jungle gym.
Before entering, activate the switch near the entrance. Then spread your team throughout the area so each person can clearly see different signal boards.
Each signal displays several faces. Every player should count the faces they can see before combining everyone’s totals.
After agreeing on the final number, enter it into the nearby control panel to complete the puzzle.
Puzzle 4: Yellow Poles
This puzzle can be frustrating because every attempt requires careful checking instead of memorizing a pattern.
Inside a circular room near the Green Tower, you’ll find numerous yellow poles. Only the poles containing a green star should be activated.
Every correct selection fills the completion meter. Your goal is to reach 100% without activating any incorrect poles.
If someone makes a mistake, simply press the reset button beside the collectible and start again.
A useful strategy is to bring several throwable objects, such as light bulbs, and drop them beside every confirmed correct pole. This creates easy markers and prevents checking the same locations multiple times.
Puzzle 5: Beach House
The Beach House puzzle is the longest puzzle in the Green Tower and requires players to split up. Begin at the red platform located on the rocks beneath the Green Tower. You’ll find two coordinates displayed:
- 3259, 1883
- 3231, 1976
Travel north to the beach using those coordinates. There are two separate buildings that each player must enter.
Step 1: Count the Images
The player inside the first beach house activates the ground-floor switch. Several images appear, and that player must count how many are shown.
Step 2: Communicate Using Tiles
Go upstairs and use the available tiles to send the number to your teammate. Each tile has a value:
- Triangle = 10
- Star = 5
- Slash = 1
For example, if the answer is 21, place:
- Two Triangle tiles (20)
- One Slash tile (1)
Your teammate should recreate the correct value before pressing the confirmation button.
Step 3: Read the Telescope
After confirming the tiles, a pegboard rises outside. The second player must use the telescope inside the other beach building to read the number displayed on the board. Once that number is entered into the nearby console, the puzzle is complete and the final collectible becomes available.
How to Unlock the Chairlift
Once you’ve collected all five Green collectibles, return to the rooftop of the Green Tower. Insert each collectible into the five slots on the Green Receiver. Every inserted piece activates one section of the device.
After placing all five collectibles, you’ll receive the Green Key. Take the Green Key to the chairlift mechanism and insert it into the five cutters. This powers up the chairlift, allowing your group to travel between towers and continue exploring the rest of Big Walk.
The Green Tower is where Big Walk begins to emphasize teamwork over individual skill. Every puzzle introduces a different cooperative mechanic, from hidden switches and coordinate hunting to silent communication and long-distance observation. Once all five puzzles are complete and the Green Key is obtained, activating the chairlift opens new parts of the world and brings your group one step closer to solving the game’s remaining tower challenges.
Big Walk