


Last Stop Roblox Solo Guide, How to Win the Game!
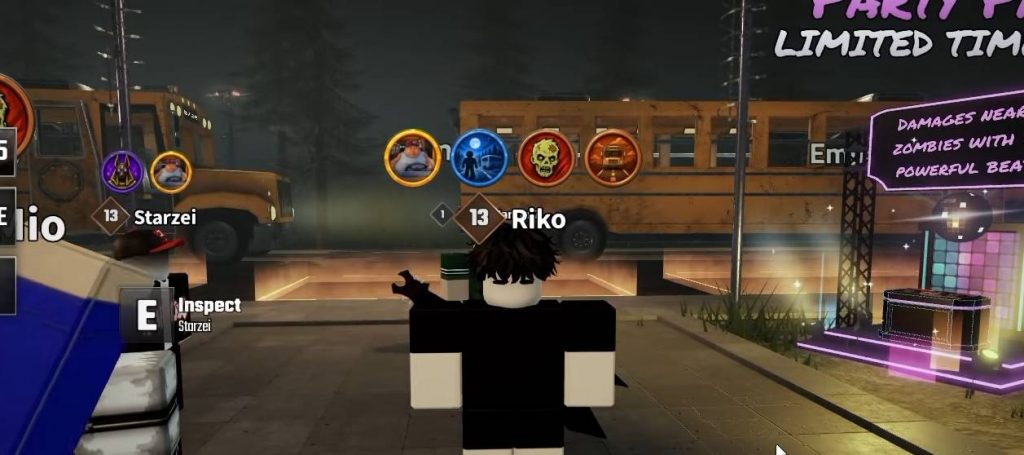
Winning a solo run in Roblox Last Stop can be tricky because you have to manage zombies, fuel, weapons, loot, and the bus without teammates covering you. The key is not to fight everything or loot every building. Instead, you want to move quickly, collect only valuable supplies, and prepare enough fuel and ammunition before reaching the final area.
This strategy is designed around getting through the game as quickly and safely as possible. You will spend less time searching houses, avoid unnecessary fights, and save your money for the equipment that actually matters during the later checkpoints and final boss.
Loot Quickly at the Start
During the first looting section, avoid wasting time fighting zombies unless they are directly blocking your path. Your main objective is to gather useful equipment and get back to the bus as quickly as possible.
Do not fill your inventory with everything you find. Prioritize items that have a higher rarity or are useful later in the run. Rare, Epic, and Legendary items are particularly valuable because you can sell them at stations for extra money. There are also several items that are better left behind:
- Avoid picking up Coal early because it provides relatively little fuel while taking up inventory space.
- Do not carry Food unnecessarily because houses provide food that you can eat immediately.
- Skip low-rarity loot whenever possible.
- Bandages are generally not worth carrying because health regeneration is fairly quick.
- Keep useful ammunition, especially Medium Ammo for the Revolver.
If you find an Iron Sword, equip it instead of keeping a weaker weapon. The sword remains useful for dealing with enemies throughout much of the run.
Prepare the Bus for the Journey
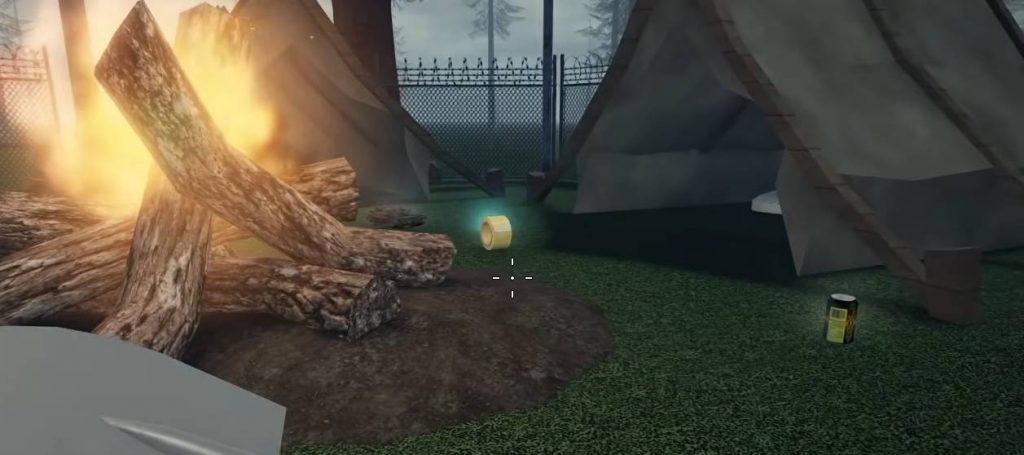
Fuel management is one of the most important parts of a solo run. When preparing fuel, use the quick refueling option when possible and avoid keeping unnecessary fuel-related items in your inventory.
You should also prepare a replacement wheel. A wheel can become damaged or start leaking during the journey, and having a spare means you can repair the bus without having to make an unnecessary detour.
At the crafting table, prioritize the basic wheel. Other crafting options are less important for this particular fast-win strategy.
Use Special Locations Instead of Random Houses
Once you are moving through the map, do not stop at every house. Random buildings can take too much time and often do not provide enough value for the amount of looting involved.
Instead, focus on special locations where better rewards are more likely to appear. This keeps your route moving toward the next checkpoint while still giving you valuable items to sell.
When you need food, simply eat what you find rather than carrying it around. This keeps your inventory available for weapons, ammunition, valuable loot, and other items that are more important later.
Use the Sword’s Hitbox to Your Advantage
Melee combat is much easier when you understand the weapon’s hitbox. You do not always need to stand directly on top of a zombie to damage it.
Hold your attack and position yourself so that the sword’s attack range reaches the enemies. This lets you clear groups more safely while avoiding unnecessary movement.
You can also use the environment to your advantage. Narrow spaces and walls can cause zombies to bunch together, allowing you to attack them while reducing the number of enemies that can reach you at once.
What to Do at the First Checkpoint
The first major checkpoint blocks your progress until the enemies in the area are defeated. You need to clear the checkpoint before you can continue and rescue the NPC. Focus on eliminating all enemies in the area rather than rushing back to the bus. If even one enemy remains, the checkpoint will not be properly completed.
Once the area is clear:
- Take the key.
- Open the jail.
- Rescue the NPC.
- Loot valuable items around the area.
- Return to the bus.
You do not need to spend time going through every dialogue option. The rescued NPC will follow you, and if they are somehow left behind, they can teleport back to the bus.
Don’t Sell the Revolver
The Revolver is extremely important for the later part of the run, particularly the final boss. Even if you find other weapons, keep the Revolver and make sure you have enough Medium Ammo for it.
Selling it for quick cash can leave you without a reliable weapon for the final encounter. Your goal is to arrive at the final area with a functioning Revolver, ammunition, and enough equipment to deal high damage.
Complete the Barn and Special Areas
Some special locations, such as the barn, are worth completing because they can provide useful rewards and help unlock the Detective Helper.
A simple way to handle the barn is to open the area and move toward a wall. Allow the zombies to gather around that position before attacking them.
This creates an easier fight because the enemies become grouped together around the same area. You can keep attacking while controlling their movement instead of allowing yourself to get surrounded.
Loot Valuable Special Areas
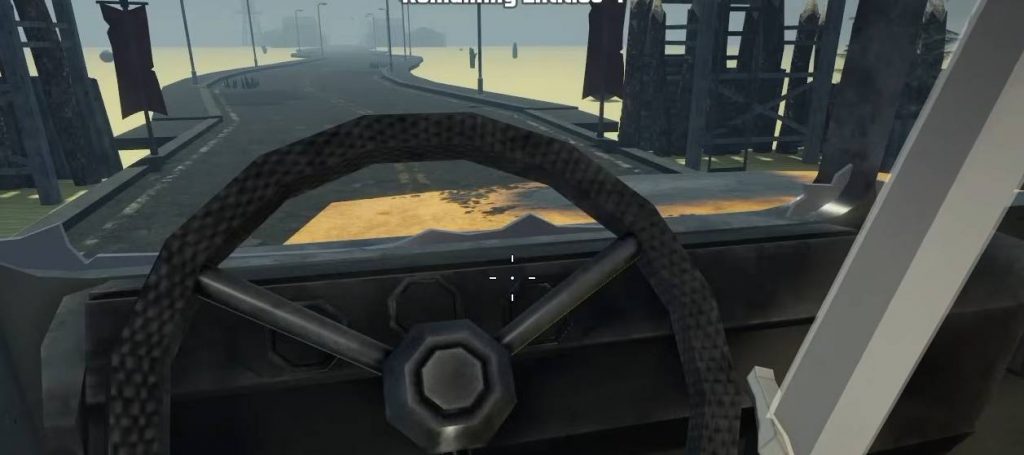
Special areas can contain much better loot than ordinary houses. Items such as trophies and shields can be particularly useful because they can either improve your equipment or provide valuable items to sell.
You can also attack zombies while riding the bus. However, you need to position the bus correctly so that the zombies actually fall inside its attack hitbox.
This can save time during certain sections because you can damage enemies without having to stop and fight them on foot.
Stock Up at Terminal Two
When you reach Terminal Two, focus on turning your valuable loot into money and using that money to prepare for the next sections.
If you have enough cash, buy fuel until your money is nearly spent, but remember to keep some money available for ammunition and other important equipment. The goal is to avoid unnecessary stops later.
If you already have plenty of fuel, head toward the second checkpoint instead of spending time looting small locations.
Second Checkpoint Strategy
The second checkpoint is much more worthwhile than randomly searching houses because the loot here provides a reliable source of money. You can potentially earn close to $1,000 from the area depending on the items you obtain.
Before entering, make sure your fuel situation is good enough to continue toward the next stage. If you already have plenty of gas, skip unnecessary locations and head directly toward the checkpoint.
During combat, use enclosed spaces to protect yourself. Standing inside a tight area can make it easier to control the zombies while your attacks still reach enemies through the opening.
After clearing the checkpoint:
- Take the key.
- Rescue the NPC.
- Loot the valuable items.
- Return to the terminal.
- Sell the items you collected.
- Buy more fuel if necessary.
Prepare for the Third Checkpoint
After leaving the second checkpoint, your objective should be reaching the third checkpoint without unnecessary detours. Avoid stopping at ordinary houses unless you desperately need supplies.
You can make a quick stop at a special location for food if needed. You only need enough food to keep yourself going through the next section, so there is no reason to fill your inventory.
If a Vampire catches you, repeatedly press the required input on the screen to escape. Once you reach the third checkpoint, follow the route toward the house on the right.
How to Clear the Third Checkpoint
The house at the third checkpoint is useful because you can use its layout to control the zombies. Move into the building and allow enemies to gather around the wall.
Once they are grouped together, attack them from a safer position. The wall makes it easier to keep the zombies in one area while your weapon’s hitbox continues to connect with them.
If your health is low, do not rush into another fight immediately. Leave some enemies alive when possible and use the game’s health regeneration to recover before finishing the remaining enemies.
After clearing the area, loot the valuable items and complete the bridge objective. Completing this section triggers several additional waves that you need to survive.
Survive the Extra Waves
Once the bridge is built, you will have to survive five more waves. Return to the house and use the same wall strategy from earlier.
The basic idea is simple: lure the zombies toward the wall, keep them grouped together, and attack them from a position where they have difficulty reaching you.
This is much safer for solo players than standing in an open area and trying to fight every zombie individually. Once the waves are finished, collect the key, loot the area, and make sure you rescue the NPC before leaving.
Repair the Bus Before the Final Area
Your bus may begin suffering damage during the later part of the journey. If one of your tires starts leaking, this is where the spare wheel you crafted earlier becomes useful.
Replace the damaged wheel before continuing. Losing time or getting stuck later in the journey is much worse than spending a few moments repairing the bus.
After the repair, return to the terminal and sell the valuable items you collected from the third checkpoint.
Buy Fuel and Upgrade Your Weapon
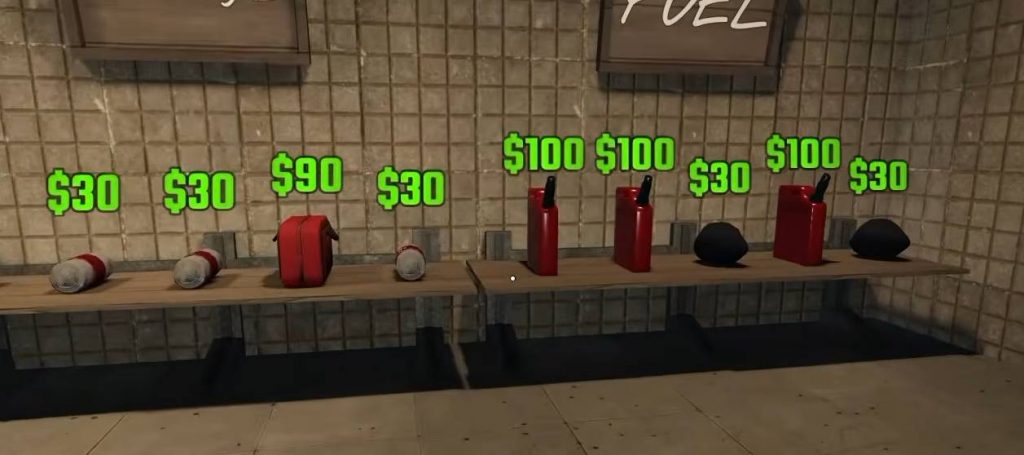
Before heading into the final area, make sure your basic requirements are covered. If you already have good armor and a strong weapon, prioritize fuel.
Do not spend every dollar on gasoline. Keep enough money available for ammunition and weapon upgrades.
A good shopping order is:
- Buy enough gasoline to reach the final area.
- Keep some money for Medium Ammo.
- Purchase better equipment if you can afford it.
- Choose the highest-rarity equipment available within your budget.
- Upgrade your Revolver with suitable attachments.
- Make sure you have enough bullets for the boss fight.
If you already have enough gas to reach the final destination, there is no reason to keep buying more than necessary.
Final Boss Strategy
Once you reach the final terminal, you are almost finished. Continue forward and you will eventually encounter the character who triggers the final boss sequence. The large character will transform into a zombie, starting the final battle. After the short story sequence, focus entirely on the boss.
The Revolver is the recommended weapon for this fight because it provides reliable ranged damage. Keep your distance and aim directly at the boss’s head whenever possible.Headshots deal more damage, allowing you to finish the encounter faster. Avoid getting distracted by unnecessary movement and focus on maintaining your aim while staying out of danger.
Once the final boss is defeated, the solo run is complete and you win the game.
Following this route makes Last Stop much more manageable for solo beginners. You are not trying to completely clear every location or collect every item; you are simply gathering enough resources to move from one checkpoint to the next and arrive at the final boss properly prepared.
Last Stop