


Graveyard Keeper 2 Days of the Week Explained Guide – What to Do!
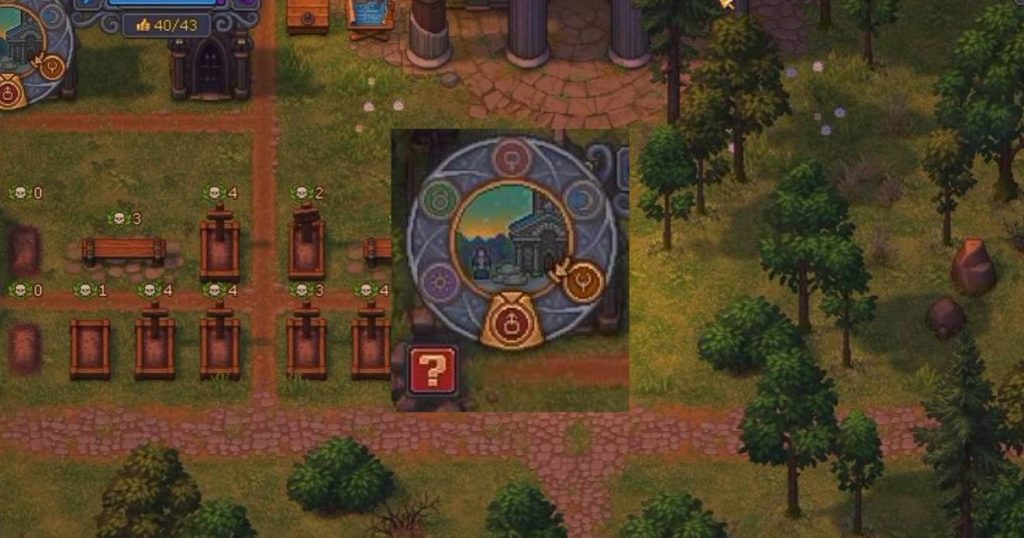
Graveyard Keeper 2 uses a six-day weekly cycle, with each day connected to a different activity. Unlike a normal calendar, these days determine when certain NPCs, systems, battles, rewards, and town activities become available.
Knowing what to do on each day can make your weekly routine much easier. Some activities can only be completed on a specific day, while others refresh weekly, so missing the right day can mean waiting for another full cycle.
Day 1 – Wrath Day
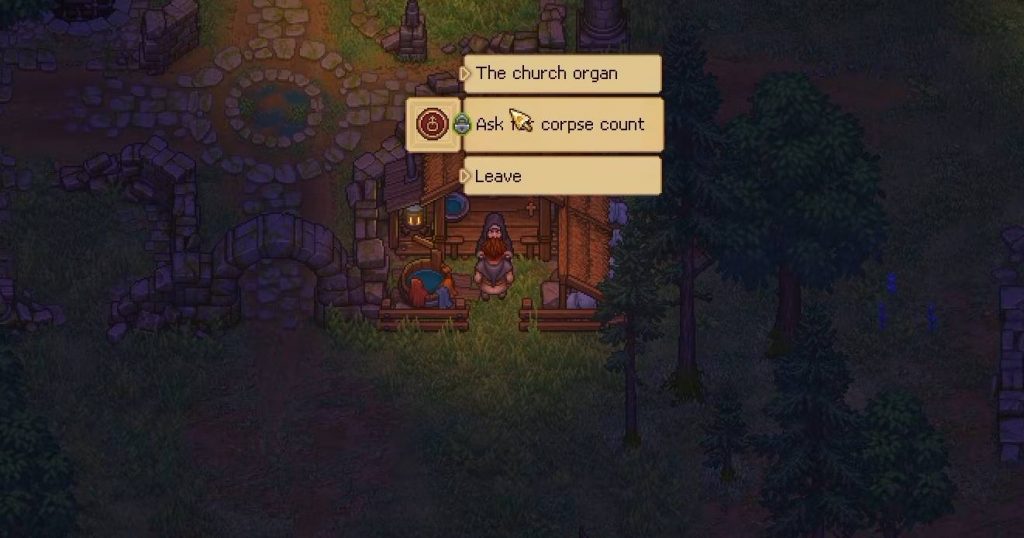
The first day of the week is the sermon day. This is when you should head to the church and complete your weekly sermon, provided you have progressed far enough through the Nun’s questline to unlock the church activities.
The sermon is useful for generating Faith and money, while improving your church and graveyard quality can increase the rewards you receive. Town Gratitude is also important for making the sermon system work more effectively.
There is another useful activity connected to the Nun on this day. After upgrading her housing and progressing through her quest, you can speak with her to manage the corpse settings. This allows you to check and change how many corpses are being handled.
Things to do on Day 1:
- Perform the weekly sermon.
- Improve church quality when possible.
- Improve graveyard quality for better sermon rewards.
- Collect Faith and money from sermons.
- Visit the Nun.
- Change the available corpse quantity settings.
Day 2 – Gluttony Day
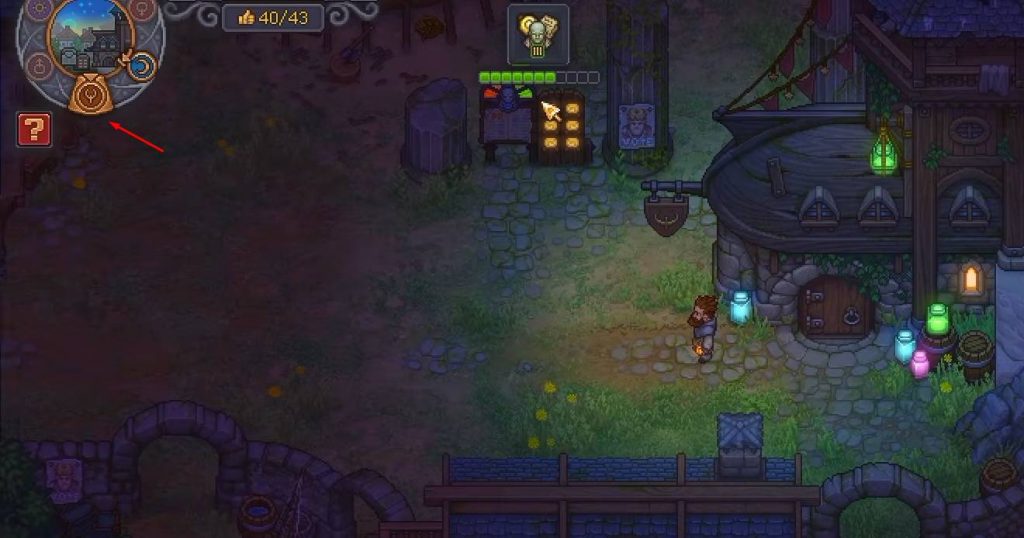
Day 2 is connected to the Excessive Zombies system and the Astrologer. Once you have progressed far enough into the story, you can encounter the Excessive Zombies debuff, which needs to be managed using the PR machine.
To charge the PR machine, you currently need Hypno Devices and newspapers. You can purchase the Hypno Devices from the relevant NPC, take them back to your home, and charge them inside the Alchemy Lab.
Once they are ready, bring the charged devices and newspapers back to the PR machine. You can then interact with it and select how long you want to charge the machine, such as one, two, three, or four weeks.
The system may change later as development continues, since there has been discussion about allowing the Hypno Devices to be charged directly at the machine. For now, however, you need to handle the charging at home.
Day 3 – Sloth Day
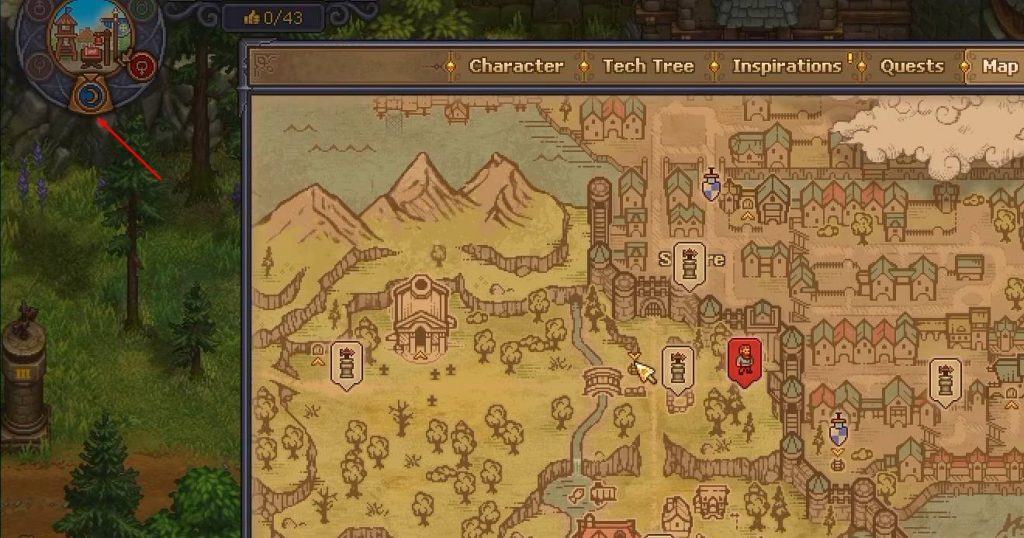
The third day is your main battle day. When exploring the map, you will notice battle locations marked with the appropriate icon. Most of these battles are tied to Day 3, making it the best time to prepare and send your zombie squads into combat.
Before starting battles, you need to organize your zombies into squads. Each squad can contain up to four zombies. After placing them into the squad, inspect your units and equip them with suitable weapons and armor.
Your zombies can use equipment such as:
- Pike
- Bow
- Armor
You should also work on upgrading your military area because its Barracks Power Level determines which battles you can access. Stronger battles require a stronger barracks setup.
Building defensive structures is also important. Towers with archers, fortified wells, and barricades can all provide useful support during battles.
One exception is the Sewer Arena. Unlike most battle locations, the Sewer Arena can be accessed on any day of the week, so you do not need to wait for Day 3 to participate in it.
Day 4 – Lust Day
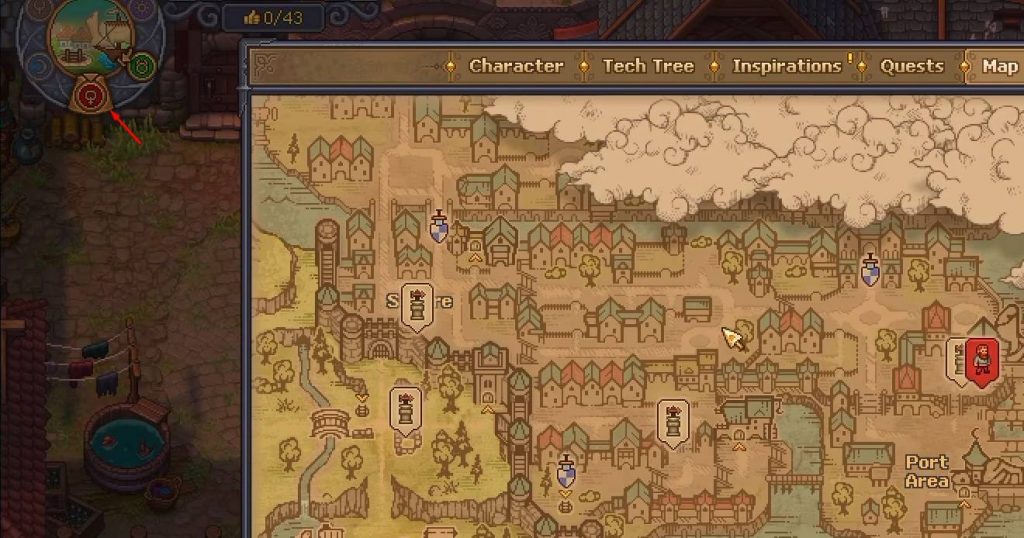
Day 4 is focused on Looters and improving your maximum Town Gratitude. You will need to visit the building on the eastern side of town to access both activities.
The first activity involves exchanging Looter Keys for different rewards. These keys are obtained from winning battles, particularly the fights that become available during the battle day.
You can exchange the keys for several reward categories:
- Tech Books
- Valuables
- Stories
- Seeds
Each category has different order sizes, with exchanges requiring between one and four Keys. Larger orders generally provide more rewards, making it useful to save your Keys if you want to make a bigger exchange.
The second activity involves increasing your maximum Town Gratitude. Speak with Linda and use Green Scrolls to increase the maximum amount of Gratitude your town can hold.
Green Scrolls can be obtained by improving different parts of the town. During the week, look for buildings and locations that can be repaired or upgraded. Completing these projects can reward you with Green Scrolls, which can then be exchanged for additional Town Gratitude capacity.
Day 5 – Envy Day
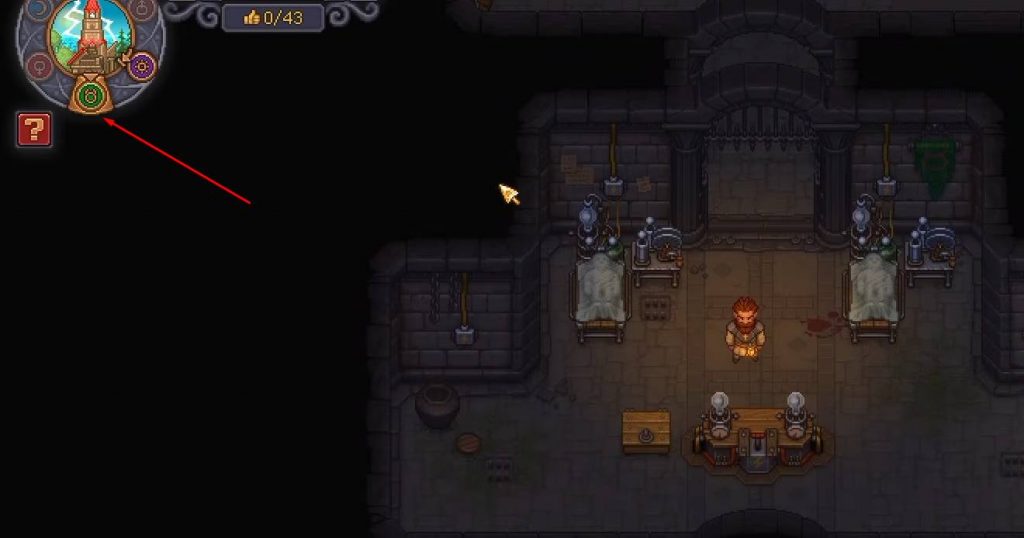
Day 5 is connected to zombie resurrection and the Goddess. If you have progressed far enough through the Plague Doctor questline, you can receive two free zombies that can be used for resurrection.
The resurrection process takes place in the Resurrection Lab. You can build multiple Resurrection Tables, with up to four being possible, although two tables may be enough for most players.
Before resurrecting a zombie, you need to prepare it with the required color and Reanimation Liquid. Once the preparation is complete, you can use the resurrection equipment to bring the zombie back.
The other important activity on Day 5 is visiting the Goddess in the swamp. She provides Blue Crystals once per week, and the reward refreshes on this specific day.
This makes Day 5 worth including in your regular weekly routine, especially if you need Blue Crystals or are actively expanding your zombie workforce.
Day 6 – Pride Day
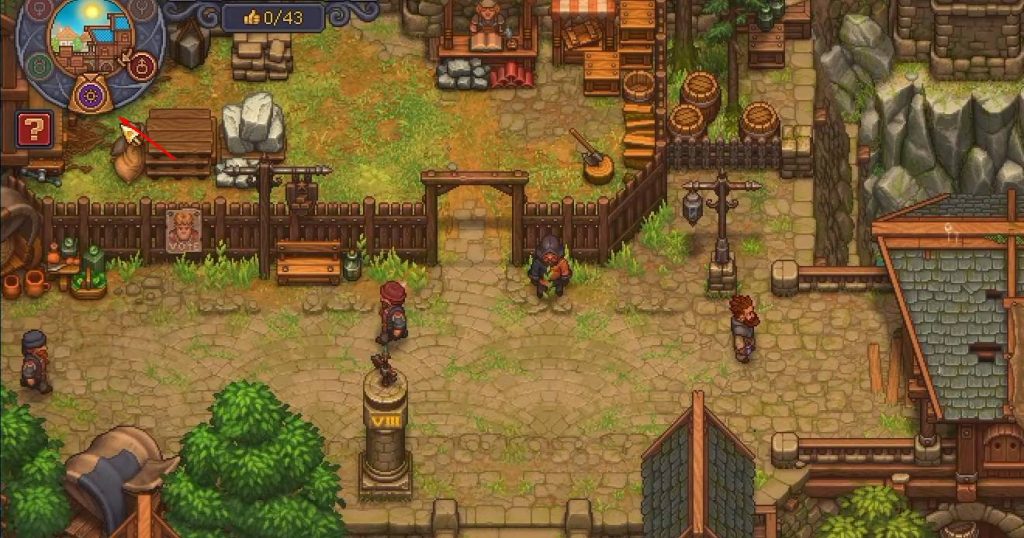
The sixth and final day is the main commerce day. You can visit the town’s order board and select new trade orders based on the shops you have built and upgraded.
The types of orders available depend on your commerce progress. As you upgrade your shops, you unlock higher-level orders that require more work but can provide more Town Gratitude when completed.
Once you accept a trade order, you have the entire following week to complete it. The required boxes can be delivered manually, or your factory zombies can transport them for you.
After the order is completed, you can collect the Town Gratitude according to the order’s reward.
Day 6 is also important because the town’s merchants refresh their weekly Gratitude rewards. For example, some merchants have a maximum amount of Gratitude that can be earned from them each week, with the limit resetting on the commerce day.
Because of this, Day 6 is one of the most important days for maintaining your Town Gratitude income.
Graveyard Keeper 2 Weekly Routine
Once you understand what each day does, it becomes easier to create a simple weekly routine. Instead of wandering around waiting for certain activities to become available, you can plan your work around the six-day cycle.
A basic weekly schedule looks like this:
- Day 1 – Complete your sermon and manage the Nun’s corpse settings.
- Day 2 – Handle the Excessive Zombies debuff and charge the PR machine.
- Day 3 – Prepare zombie squads and complete available town battles.
- Day 4 – Exchange Looter Keys and increase maximum Town Gratitude with Green Scrolls.
- Day 5 – Resurrect zombies and collect Blue Crystals from the Goddess.
- Day 6 – Take new commerce orders and collect refreshed merchant Gratitude.
The six-day cycle in Graveyard Keeper 2 is more than a simple calendar system because each day unlocks specific activities. Keeping track of the schedule lets you avoid missing weekly rewards and makes it easier to manage your church, zombies, battles, town upgrades, and trading.
The most important thing is to build these activities into your normal routine. Complete the sermon on Day 1, deal with the PR machine on Day 2, use Day 3 for battles, spend Looter Keys on Day 4, handle resurrection and the Goddess on Day 5, and finish the week with commerce activities on Day 6.
Graveyard Keeper 2