


Break and Steal an Egg Zones Guide
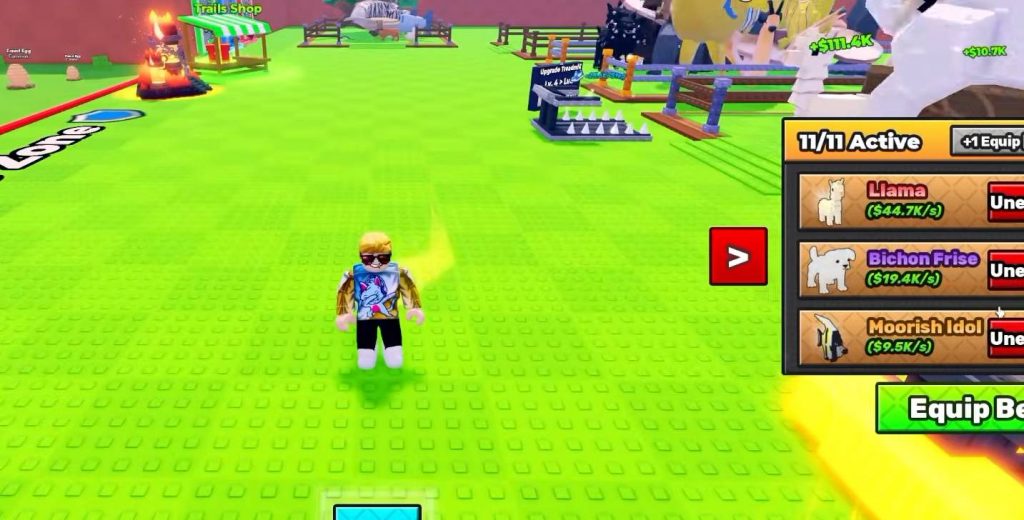
Zones in Break and Steal an Egg separate the map into different stages of progression. Each area has its own Speed requirement, and the deeper you go, the more demanding your egg runs can become. You do not need to rush through every gate as soon as it opens. A better approach is to make sure your current route is reliable first, then use your income to improve Speed and move toward the next zone.
Zone Progression and Speed Requirements
The captured progression currently covers nine main zones, starting with Forest and ending with Galaxy. The Speed requirements become much higher as you move across the map.
- Forest — 5 Speed
- Desert — 1K Speed
- Snowy — 50K Speed
- Candy — 750K Speed
- Swamp — 12M Speed
- Ocean — 150M Speed
- Hell — 1B Speed
- Blossom — 5B Speed
- Galaxy — 25B Speed
These numbers are based on captured zone information. Game updates can change requirements, so use the live gate as the final reference before spending resources.
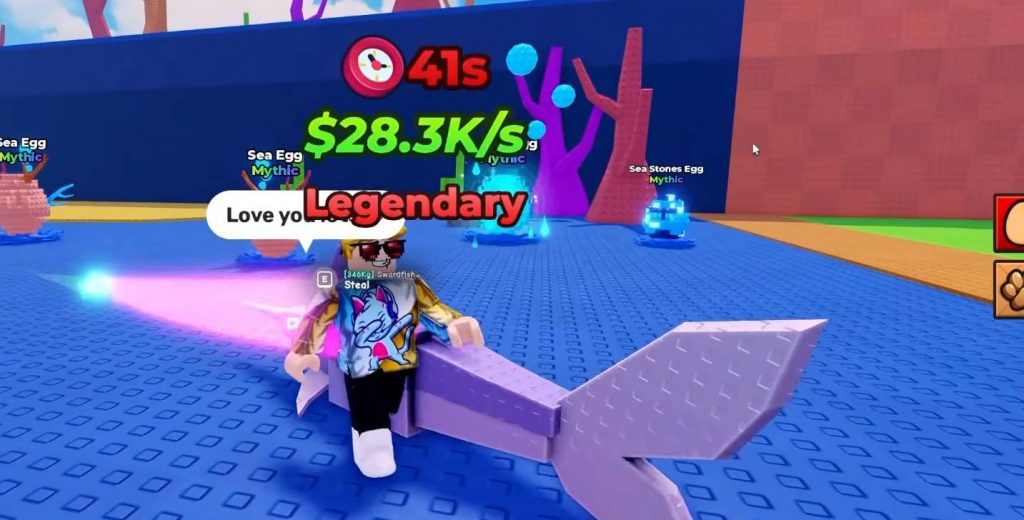
Forest Zone
Forest is the starting area and should be used to learn the basic route. Your first goal is to understand how to break an egg, take the animal, escape the guard and return it to your Pen.
The captured recommendation for Forest is 5 Speed. There is no reason to rush beyond this area if you are still struggling to complete normal runs.
Use Forest to build your first income and upgrade your equipment before moving deeper into the map.
Desert Zone
Desert requires around 1K Speed based on the captured gate information. This is a much larger jump from the starting area, so it is a good point to check whether your movement upgrades are keeping up with progression.
Before farming Desert repeatedly, complete a few test runs. Make sure you can travel through the area and return with an animal without constantly losing runs to guards or other problems.
Snowy Zone
The Snowy zone has a captured recommendation of 50K Speed. By this point, movement becomes a much bigger part of your progression.
Continue training on the treadmill and improve your Trail when needed. Having enough Speed to open the gate does not necessarily mean your route will be easy, so keep some room for unexpected problems during the escape and return.
Candy Zone
Candy has a captured recommendation of 750K Speed. This is another significant increase from Snowy and should be treated as an early-to-mid progression checkpoint.
If your previous route is already stable, continue building cash and Speed before moving into Candy. Avoid spending everything just to reach the gate if you will have nothing left for other upgrades.
Swamp Zone
Swamp requires around 12M Speed in the captured information. At this point, the gap between zones becomes much larger, making route efficiency more important.
Test at least one normal run after reaching the area. Compare how long the full trip takes and how much income you can generate before deciding whether Swamp is worth farming continuously.
Ocean Zone
Ocean has a captured recommendation of 150M Speed. This is another major progression jump that requires stronger movement upgrades.
Instead of looking only at the Speed requirement, compare your current income with the cost of reaching the next tier. A faster zone is useful when it helps you earn enough to continue upgrading without constantly running out of cash.
Hell Zone
Hell requires around 1B Speed based on the captured zone information. This is a major gate in the progression and represents a large jump from Ocean.
Save enough resources for the upgrades needed to continue beyond the gate. Reaching Hell should be treated as a long-term goal rather than something that needs to happen immediately.
Blossom Zone
Blossom has a captured recommendation of 5B Speed. The requirement is significantly higher than Hell, so players should expect another long upgrade cycle.
Keep your cash flow stable while training toward this checkpoint. Spending all your resources on one Speed upgrade can leave you unable to improve other parts of your run.
Galaxy Zone
Galaxy is the final area in the captured nine-zone screenshot set and has a listed recommendation of 25B Speed.
Reaching this point requires a large amount of Speed progression compared with the starting Forest zone. Continue improving your treadmill and Trail while maintaining a reliable animal income route.
The 25B figure should be treated as a captured checkpoint, not a guarantee that the requirement will remain unchanged after future updates.
New Biome Coming?
A supplied event card previews a New Biome for October 11. However, the available information does not confirm the biome’s name, gate requirement, eggs, animals, or rewards.
Because these details can change before an update goes live, avoid treating the preview as a confirmed zone guide. Check the live game when the new content becomes available.
How to Decide When to Move Zones
Unlocking a zone does not mean you have to immediately abandon your previous farming route. Test the new area first and compare it with your current income. Move forward when:
- Your current runs are consistent.
- You have enough Speed for the next gate.
- You can escape guards reliably.
- Your Pickaxe can handle the eggs efficiently.
- The new area provides enough value to justify the upgrade cost.
If the new zone is too difficult, return to the previous area and continue upgrading.
The zone system in Break and Steal an Egg gives players a clear progression path from Forest to Galaxy. The captured checkpoints range from just 5 Speed in Forest to 25B Speed in Galaxy, with several major jumps between them.
Do not treat the Speed requirement as the only goal. A successful zone run also depends on your Pickaxe, movement, guard escape and Pen capacity. Build a reliable route first, then move to the next zone when your upgrades can support it.
Break and Steal an Egg