


Unseen Liminality Walkthrough: Beginner’s Guide, All Levels, Entities, and Badges!
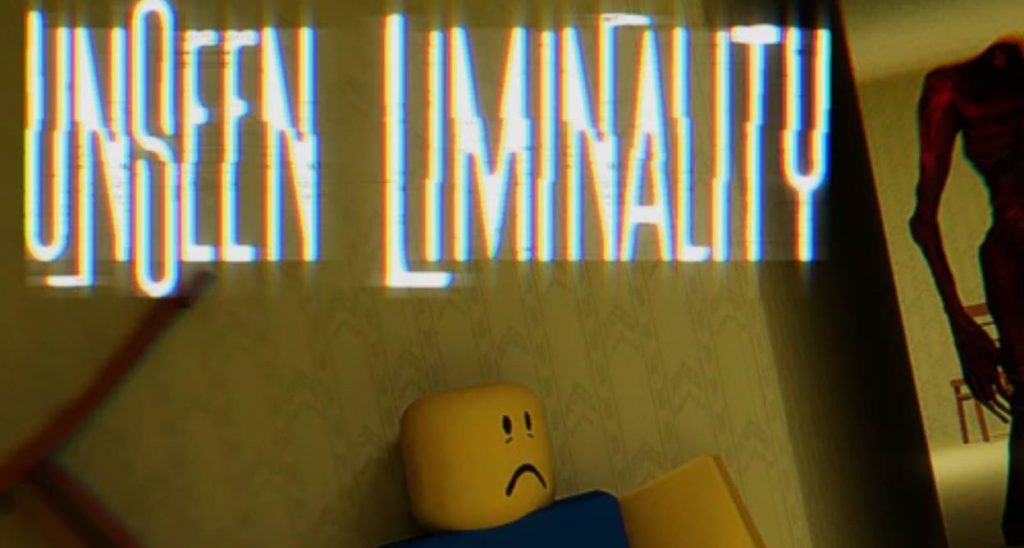
Unseen Liminality is a Roblox horror game inspired by the Backrooms, featuring empty buildings, confusing hallways, hidden areas, and dangerous creatures. The game also takes inspiration from the liminal horror style popularized by Kane Pixels, creating an unsettling atmosphere where even an ordinary room can feel dangerous. Although the game is still in development, there are already several locations to explore and entities to avoid.
This Unseen Liminality walkthrough covers the main objective, available equipment, all known levels, dangerous entities, and badges you can collect. If you are new to the game, understanding these basics will help you explore more safely and find hidden locations without getting lost too often.
What Is the Objective in Unseen Liminality?
Your main objective in Unseen Liminality is to explore the Backrooms and survive whatever you encounter along the way. Each level contains different environments, and some of them have dangerous entities that may follow or attack you. However, not every location is immediately hostile, so you can spend time exploring quieter areas before moving into more dangerous sections.
Exploration is an important part of the experience. You can search for Areas of Interest, discover hidden subfloors, and use your camera to capture interesting locations. Since the maps contain many similar-looking rooms and corridors, it is easy to lose your sense of direction. Pay attention to entrances, unusual objects, and paths that lead to different environments.
Unseen Liminality Equipment Guide
You have several useful tools to help you explore the different levels. Each one serves a different purpose, and knowing how to use them can make your journey easier.
- Flashlight: Press F to equip the flashlight, then use the left mouse button to turn it on or off. It has unlimited power, making it especially useful when the lights go out or when you need to explore dark corridors.
- Camera: Use the camera to take pictures of interesting locations throughout the game. It is useful for capturing unusual environments and keeping a record of places you discover.
- Album: The album allows you to view the photographs you have taken. Find a safe location before opening it, especially if you suspect an entity is following you.
The flashlight is the most practical tool for exploring dark areas, while the camera helps you document your discoveries. The album is less useful when you are being chased, so avoid spending time looking through your pictures when danger is nearby.
All Unseen Liminality Levels and Locations
Unseen Liminality currently features several main levels that you can access through the level selection menu. There are also hidden subfloors that require exploration to discover. Each location has its own atmosphere, layout, and potential threats, so learning where the entrances are can save you time.
1. The Lobby
The Lobby is the starting area and features the classic Backrooms appearance: yellow walls, fluorescent lights, stained carpets, and endless-looking rooms. Many sections look almost identical, making navigation difficult even when there are no enemies nearby. This level is also associated with several dangerous entities, including Fake Players, Headhunter, and Pirate Clark.
You can also find Cap’n Clark’s Ottoman Empire in this area. Pay attention to the surrounding rooms and unusual entrances, as some of them lead to other levels. One entrance near a mannequin embedded in the wall, behind Cap’n Clark’s Ottoman Empire, provides access to the Dead Mall.
2. Dead Mall
The Dead Mall resembles an abandoned shopping center with large open spaces, escalators, and a deserted atmosphere. Its design is reminiscent of the unsettling environments seen in Kane Pixels’ The Oldest View. Compared with the Lobby, the layout can feel easier to understand because the central mall area provides more recognizable landmarks.
However, the location is not completely safe. The Rolling Giant may occasionally appear and follow players before attacking them. Its spawn rate is relatively low, so you may be able to explore the mall without encountering it. To reach this level, look for the door near the mannequin that is sunk into the wall behind Cap’n Clark’s Ottoman Empire in the Lobby.
3. The Poolrooms
The Poolrooms feature white tiles, large swimming pools, and strange indoor spaces illuminated by light from above. This environment offers a different atmosphere from the yellow corridors of the Lobby, but its open spaces and connected rooms can still make exploration confusing.
To enter the Poolrooms, search for a dark passage in the Lobby. The tiled environment is a clear sign that you have found the correct route. The area appears relatively peaceful compared with some other levels, with fewer known monster encounters. Nevertheless, keep exploring carefully because hidden objects and unusual discoveries may be scattered throughout the map.
4. Pipe Dreams
Pipe Dreams is a network of service corridors connected to the lower and darker sections of the Poolrooms. Instead of large open swimming areas, this location features narrow passages and industrial-looking surroundings. The layout can make it difficult to tell which direction you are heading, especially when several corridors look alike.
This level also serves as a connection between the Poolrooms and the Liminal Hotel. Although Pipe Dreams is generally quieter than the Lobby, Mimics have been spotted in the area. Keep your flashlight ready, watch the corridors ahead, and avoid assuming that a quiet section is completely safe.
5. The Liminal Hotel
The Liminal Hotel is an unsettling area filled with deserted corridors, cream-colored walls, patterned carpets, and numerous doors. Some sections lead into maintenance areas, while others contain more doors and confusing passages. Its design makes it feel like an ordinary hotel that has been abandoned somewhere outside the normal world.
You can reach the Hotel through Pipe Dreams. While exploring, pay attention to your surroundings because you may feel as though something is following you. Mannequins can also appear in this area. Even when the corridors seem empty, take your time before entering unfamiliar rooms or turning into dark hallways.
6. Dreamcore Subfloor
The Dreamcore Subfloor is a hidden location with a surreal aesthetic, including clouds and traffic cones. Unlike the larger main levels, this area is self-contained and has only one entrance and exit. It also contains one Area of Interest, making it a useful destination for players who want to discover unusual environments.
Because the location has a limited layout, finding the main point of interest should be more straightforward than navigating the maze-like Lobby. However, you still need to locate the entrance through exploration before you can visit it.
7. Frutiger Aero Subfloor
The Frutiger Aero Subfloor is another hidden location featuring a nostalgic visual style. Its appearance contrasts with the darker, more unsettling environments found throughout the rest of Unseen Liminality. The area is associated with the Dreamcore-style collection of unusual spaces, but it has its own distinct aesthetic.
Explore the available levels carefully if you want to find this subfloor. Discovering it also helps you earn the badge called The Promised Future. Since hidden locations may be difficult to find without clear landmarks, check unusual passages and areas that appear different from the surrounding rooms.
8. The Liminal Home
The Liminal Home resembles a large, strange house with off-white walls and polished wooden floors. Its familiar interior design creates a different kind of horror compared with the empty office spaces and shopping mall. However, the location is not as peaceful as it might initially appear.
A hostile entity known as Still Life inhabits this area. You may hear its disturbing sounds before seeing it, so listen carefully while moving through the house. If you hear loud wails or roars nearby, prepare to change direction or retreat rather than continuing blindly into an unfamiliar room.
All Entities and Monsters in Unseen Liminality
Several entities can appear throughout Unseen Liminality, and each one behaves differently. Some disguise themselves as ordinary players, while others patrol specific areas or charge at anyone they notice. Learning how these creatures behave is essential if you want to survive longer during your exploration.
1. Fake Players or Mimics
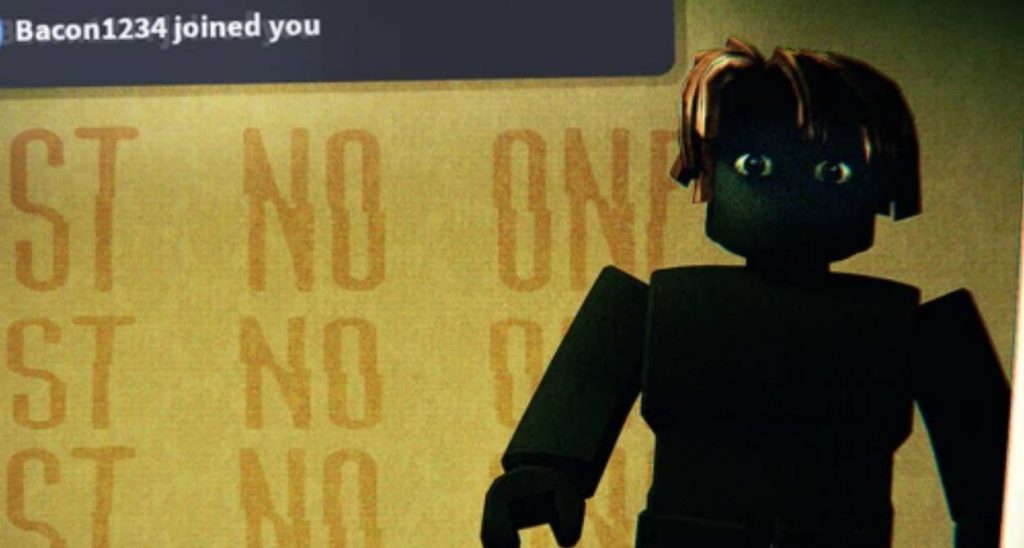
Fake Players are among the most unsettling enemies in Unseen Liminality because they imitate the appearance of regular Roblox players. You may encounter one after receiving a notification that a friend has joined the experience. However, when you check the player list, the supposed friend will not appear among the actual players in the server.
This is a warning that the character is a Mimic. It may stalk you and slowly approach your position before revealing its true form. When it gets close enough, it transforms into a shadowy humanoid and rushes toward you. This attack can kill your character, so do not approach suspicious players just because they appear familiar. These enemies have primarily been observed in the Lobby.
2. Mannequin
Mannequins are strange figures that can be found in locations such as the Hotel. Their appearance makes them look like ordinary display mannequins, but their presence can still be unsettling when you discover one standing alone in an empty room.
Earlier versions of the game reportedly featured mannequins that followed players. In the version described here, they appear to remain stationary and watch from a distance. Their behavior may change in future updates, so it is best to remain cautious rather than assuming they will always stay still.
3. Still Life
Still Life is a hostile entity found in the Liminal Home. Its distorted humanoid appearance is disturbing, but its sounds may give away its location before you see it. Players can hear its loud wails, roars, and screams from a distance, making audio an important warning when exploring this area.
If Still Life spots you, it will charge toward you and attempt to attack. Avoid moving blindly toward the source of the noise, particularly when you are exploring unfamiliar rooms. If you hear its sounds nearby, pay attention to your surroundings and prepare to move away before the creature gets close enough to attack.
4. Headhunter
Headhunter is a large creature that can appear in certain sections of the Lobby. It has a headless appearance, making it easy to distinguish from ordinary characters and other entities. Although its exact behavior may depend on the current version of the game, encountering it is a good reason to avoid staying in the same area.
When you spot Headhunter, keep your distance and look for a safer route. Do not waste time approaching the creature to inspect it if your goal is to survive and continue exploring. Since the Lobby contains multiple threats, remaining aware of your surroundings is more useful than focusing on a single enemy.
5. Pirate Clark
Pirate Clark is an aggressive entity associated with the area around Cap’n Clark’s store in the Lobby. Unlike enemies that may simply watch or stalk you, Pirate Clark can pursue players over a long distance. It can also break through doors, meaning that a nearby doorway may not provide reliable protection.
If you encounter Pirate Clark, avoid staying near the store and move away as quickly as possible. Do not assume that closing a door will stop the chase. Because this enemy can follow players through a large area, it is better to prioritize escaping than attempting to investigate the surrounding rooms.
6. Rolling Giant
The Rolling Giant appears in the Dead Mall and can follow players before attacking. Its appearance and behavior contribute to the unsettling atmosphere of the abandoned shopping center, although it does not seem to spawn every time you visit.
The relatively low spawn rate means you may be able to explore the mall without encountering it. Still, remain alert when moving through the open areas and corridors. If the Rolling Giant appears, avoid lingering nearby to take pictures or inspect the environment, as your immediate priority should be getting away safely.
All Unseen Liminality Badges and How to Get Them
Badges provide additional goals for players who want to explore every available location and discover unusual objects. Several badges in Unseen Liminality can be earned simply by visiting a level, while others require you to locate a specific object hidden somewhere on the map.
Here are the currently known badges and the requirements for obtaining them:
- Meet Bob: Find and touch the SpongeBob balloon in the Lobby. The balloon is an unusual object, but touching it does not appear to cause any major danger.
- Evil Duck: Find the Evil Duck hidden somewhere in the Poolrooms. Explore the tiled areas carefully if you want to locate this object.
- Lobby: Visit the Lobby. Since this is the starting area, you should receive this badge naturally when entering the game.
- The Pool Rooms: Discover the Poolrooms by finding the entrance in the Lobby.
- Liminal Hotel: Reach the Hotel by traveling through Pipe Dreams.
- Dead Mall: Find the entrance behind Cap’n Clark’s Ottoman Empire in the Lobby and enter the Dead Mall.
- Dream Core: Discover the Dreamcore Subfloor, a hidden location featuring clouds and traffic cones.
- The Promised Future: Find and enter the Frutiger Aero Subfloor.
If you want to collect every badge, focus on exploring each major level before searching for the hidden subfloors. Some badges require little effort once you know where to go, while others depend on finding specific objects. Keep track of the entrances you discover so you can return to unfinished areas without repeating the same routes.
Tips for Beginners Playing Unseen Liminality
Unseen Liminality can be confusing when you first start because many rooms share similar colors, lighting, and layouts. A few simple habits can make exploration easier and help you avoid dangerous encounters.
- Use your flashlight in dark areas: It has unlimited power, so there is no need to save its battery. Turn it on whenever visibility becomes poor.
- Check the player list: If a supposed friend joins but does not appear in the actual server list, treat the character as a potential Mimic.
- Remember important entrances: Keep track of routes between the Lobby, Poolrooms, Pipe Dreams, Hotel, and Dead Mall.
- Listen for entity sounds: Still Life can be heard from a distance, giving you a warning before you see it.
- Avoid suspicious characters: Do not approach unfamiliar figures simply because they resemble regular Roblox players.
- Explore hidden passages: Some locations are not available through the main level selection and must be discovered inside the game.
- Take photographs when it is safe: Use your camera to document interesting areas, but avoid opening the album while an entity is chasing you.
The most important thing is to avoid rushing through unfamiliar areas. Unseen Liminality relies heavily on atmosphere and exploration, so taking time to learn the layout can be more useful than moving quickly from one room to another.
Unseen Liminality offers a mix of Backrooms exploration, hidden locations, strange entities, and environmental horror. The Lobby is the starting point for most of your discoveries, while the Dead Mall, Poolrooms, Pipe Dreams, and Liminal Hotel provide different environments to explore. Hidden areas such as Dreamcore, Frutiger Aero, and the Liminal Home add more variety to the experience.
If you are starting your journey, learn the entrances to each level, watch out for Mimics and other hostile entities, and collect the available badges as you explore. Since Unseen Liminality is still being developed, its maps, monsters, and mechanics may change as new updates arrive. Check back after future updates for additional locations, entity behavior, and badge requirements.
Unseen Liminality