


Anime Zero Flame Director Guide, Best Weapon, and How to Solo Raid!

If you’re trying to get the Flame Director, also known as the Hu Tao weapon, the fastest way is to farm the raid as efficiently as possible. A good solo setup can bring the clear time below 3 minutes and 30 seconds, while very strong builds with good RNG can get close to the 3-minute mark. The strategy below focuses on the current raid version, including the best weapon combinations, traits, accessories, and a simple route for each section.
Best Weapons for the Raid
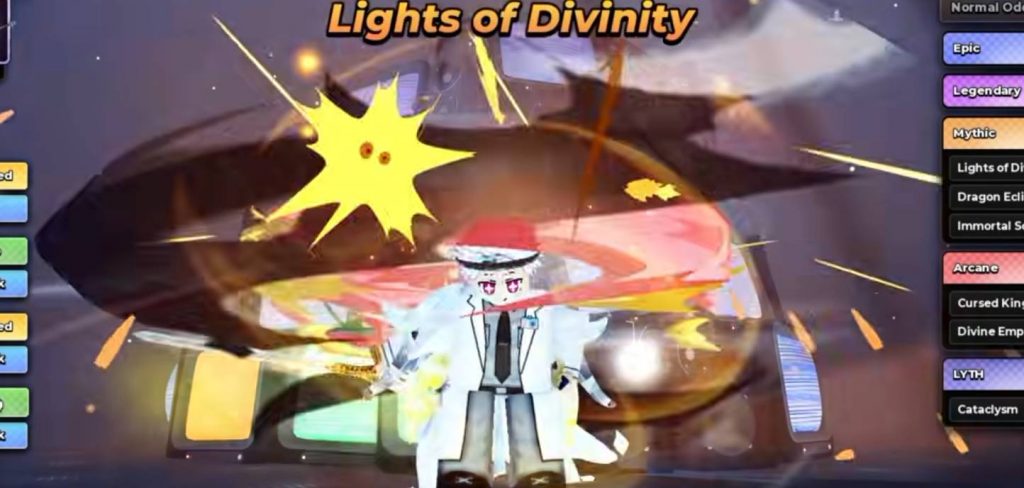
Your weapon setup is important because solo raids require both strong damage and good cooldown management. Miyabi is one of the best options for the current patch. Her Cataclysm setup works especially well because of the buffs she received and her ability to survive difficult parts of the raid.
If you don’t have Miyabi, Sukuna, also known as Cursed King, is a strong alternative. For the two main setups, you can use:
- Miyabi + Cataclysm
- Sukuna + Immortal Sovereign
Cursed King paired with Immortal Sovereign gives a 10% damage synergy bonus.
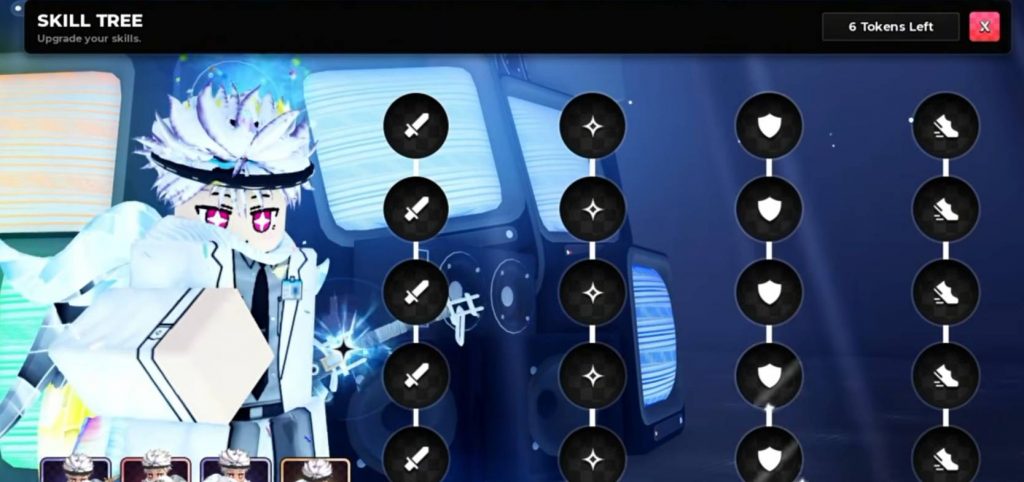
For Miyabi, pairing Cataclysm with Lights of Divinity is useful because the synergy provides:
- 5% skill cooldown reduction
- 8% movement speed
The cooldown reduction is especially helpful when you’re trying to clear each wave as quickly as possible.
You don’t need to fully upgrade Lights of Divinity for this strategy. Cataclysm should remain your main weapon during the actual raid.
Best Traits
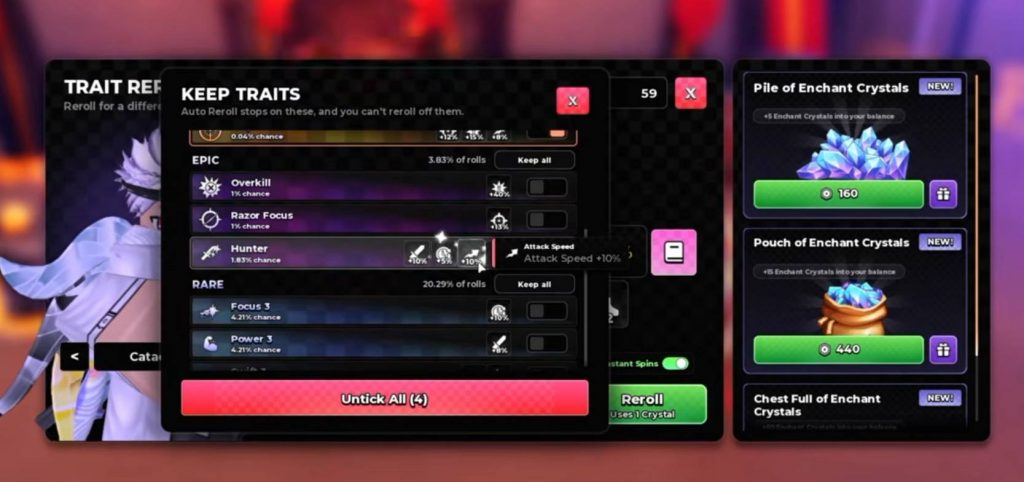
Ferocity is one of the preferred traits for a fast Miyabi run.
It provides useful bonuses for speedrunning, including benefits to attack speed, movement, cooldowns, and damage.
If you don’t have Ferocity, Go Hunter can be used as an alternative. Overkill is another option, especially for Sukuna.
Sukuna doesn’t benefit as much from attack speed because his damage rotation mainly revolves around using his skills, particularly Fuga.
Because of that, Overkill can work well for Sukuna if you want to focus more on critical damage.
Having the ideal trait isn’t mandatory, but a weaker trait can add some extra time to your runs.
Best Accessory
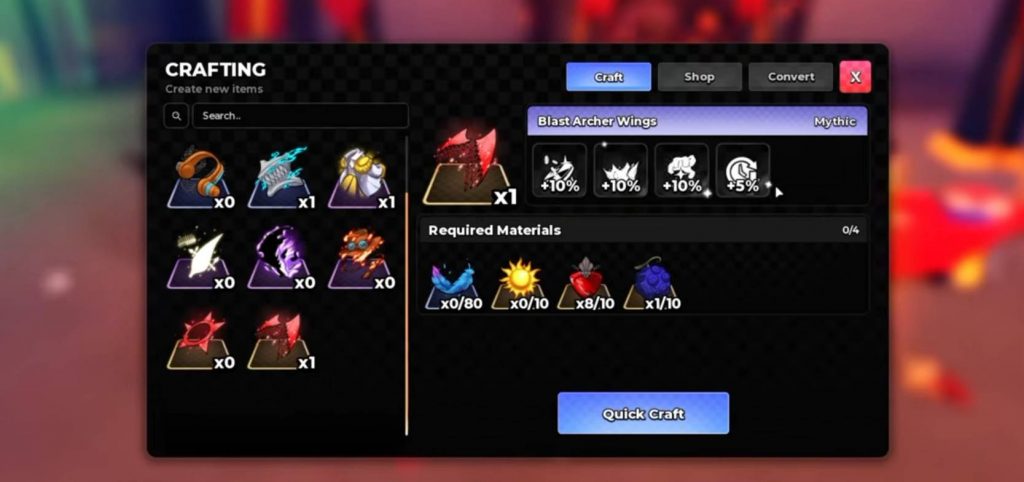
For a raid speedrun, Blast Archer Crown is the recommended accessory.
It provides:
- 4% additional damage
- 2% cooldown reduction compared with Blast Archer Wings
Blast Archer Wings can still be useful if you want extra XP and drop-related benefits, but the Crown is better when your main goal is clearing the raid quickly.
The extra damage and cooldown reduction are more valuable for a speedrun.
How to Solo Raid the Spirit Bathtub Raid Anime Zero Guide
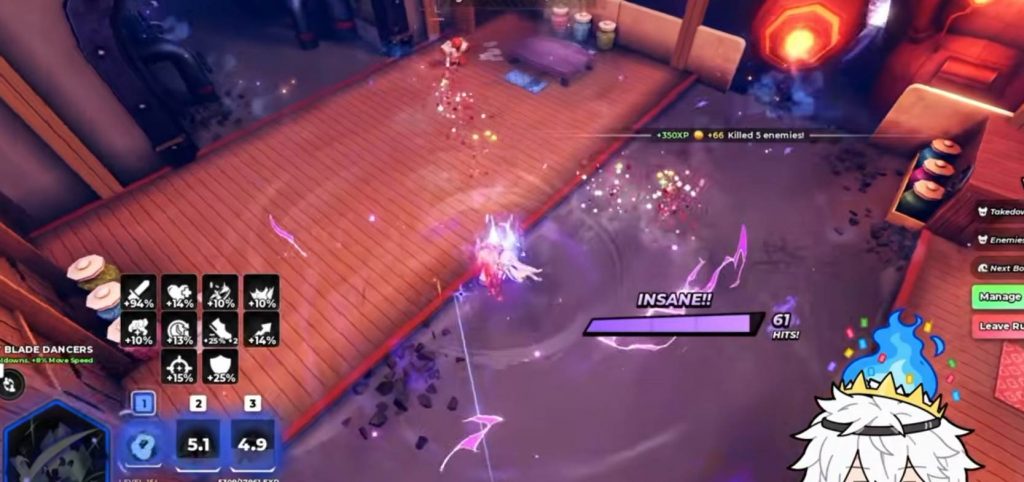
1. Solo Raid Strategy
The raid is set to Nightmare difficulty, so make sure your character is strong enough to survive before trying to optimize your clear time.
During the raid, the main idea is simple:
2. Use your skills as soon as possible while keeping enemies close enough that you don’t waste time chasing them.
For Miyabi, start your rotation with the third skill. The third skill deals high damage without pushing enemies away. After that, use the second skill and then your first skill to close the distance if enemies get pushed back.
Keep cycling through your skills instead of waiting around for the perfect moment.
3. First Area
At the beginning of the raid, clear the first group of enemies using your normal skill rotation. Once they’re defeated, head toward the elevator and staircase area.
Don’t immediately run all the way upstairs. Instead, move partway up the staircase to attract the enemies from the upper floor. They should eventually jump down toward you.
Once they come down, defeat them near the staircase. Repeat the same trick to pull the next group down. Keeping the enemies close to the stairs is important because you can immediately move upward after killing them. This saves time compared with running around the floor looking for every enemy.
4. The Five-Wave Section
The next area contains five waves. The first three waves are regular enemies. The first boss appears during the fourth wave. This is where timing your ultimate becomes important.
During the third wave, keep track of how close you are to finishing it. You want your ultimate ready when the final enemy is about to die. As soon as the last enemy of the third wave is defeated, use your ultimate.
The boss has a short appearance sequence, so activating your ultimate immediately allows you to start dealing damage as soon as possible instead of wasting time waiting. After that, continue using your normal attacks and cycle through all three skills.
With enough damage, the fourth wave should disappear very quickly.
5. How to Handle the Final Boss
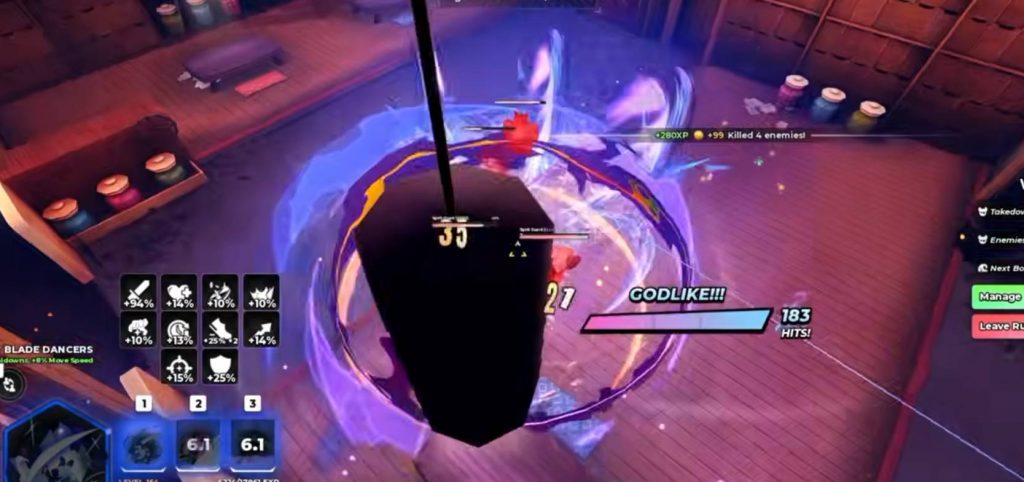
The final boss has multiple phases, so simply spamming everything at once isn’t the best strategy. During the first phase, attack the boss normally and keep rotating your skills.
The boss will eventually enter an invulnerable phase and summon additional enemies. Continue clearing the enemies and wait for the boss to become vulnerable again.
Once the boss reaches around half health, another copy of the boss appears. This is where you can save a lot of time.
6. Damage Both Bosses Together
When the second boss appears, try to position yourself so your attacks can hit both bosses. Use your three main skills first.
Once all three are on cooldown, use your ultimate to damage both bosses at the same time. This is much more efficient than focusing on only one boss because you can deal damage to both targets during the same rotation.
You don’t always have to wait for the perfect moment to use your ultimate. If all of your main skills are on cooldown and using the ultimate can push the boss into its next phase, use it.
The goal is to keep dealing damage instead of standing around waiting for your skills to return.
7. Dealing With the Boss Clone
The second boss will eventually enter the same invulnerable phase and begin spawning mobs. During this section, continue attacking both targets whenever possible.
The original boss can still be damaged during part of this sequence, so use your skills in a way that hits both enemies.
When your skills are unavailable and your ultimate is ready, use it again. This keeps your damage output high while your other abilities are recovering.
Once the bosses are properly managed, the rest of the fight should be much faster.
How Fast Can You Clear the Raid?
With a solid build and good execution, you can aim for around 3 minutes and 30 seconds or less. Getting below 3 minutes is possible, but it requires much better RNG, strong critical hits, the right trait, and a well-optimized accessory setup.
Don’t worry if your first attempts are slower. Focus on improving your route first. Once you’re no longer wasting time moving between enemy groups, waiting for cooldowns, or missing opportunities to hit multiple bosses, your clear time should improve naturally.
Best Farming Setup
For a quick summary, this is a strong setup for farming the Flame Director:
- Main option: Miyabi + Cataclysm
- Alternative: Sukuna + Cursed King
- Miyabi synergy: Lights of Divinity
- Sukuna synergy: Immortal Sovereign
- Preferred Miyabi trait: Ferocity
- Sukuna alternative: Overkill
- Raid accessory: Blast Archer Crown
- Difficulty: Nightmare
- Main goal: Keep skills cycling and minimize movement
The most important part isn’t just having the strongest weapon. Your positioning and skill timing matter just as much.
If you’re going to farm the raid repeatedly, focus on consistency rather than trying to get a perfect 3-minute run immediately. Use the staircase to group enemies, prepare your ultimate before the fourth wave, and attack both bosses together whenever possible.
Also remember that this strategy is based on the current patch. Anime Zero can change enemy placement, weapon abilities, or raid mechanics in future updates, which can make older speedrun methods less effective. For now, if you have Miyabi and the right setup, this raid is a good opportunity to farm the Flame Director quickly.
Anime Zero