


+1 Speed Monkey Escape Sunken Shard Locations Guide: Where to Find All the Shards!
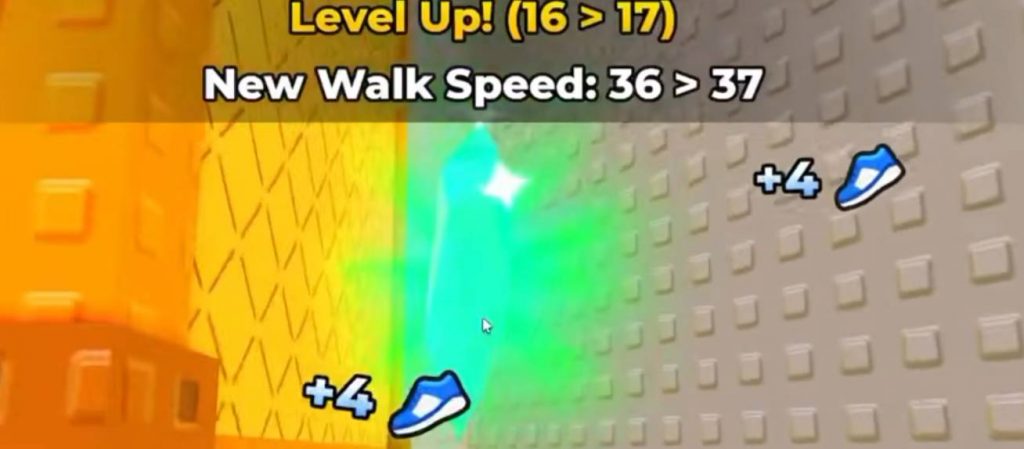
Collecting every Sunken Shard in +1 Speed Monkey Escape is one of the key objectives if you’re aiming for full completion. While some shards are easy to spot, others are tucked away in hidden corners or require risky jumps that can send you back to the checkpoint. Knowing exactly where to look can save you plenty of time. This guide covers all nine Sunken Shard locations in +1 Speed Monkey Escape, along with tips for collecting the trickier ones without getting lost.
Sunken Shard #1 – Behind the Leaderboards
The first shard is one of the easiest to obtain once you spawn into the game.
Head toward the main leaderboard area in the lobby, then walk behind the leaderboard structure. You’ll find the first Sunken Shard hidden behind it. Since it’s located near the starting area, it’s a good idea to grab this one before progressing through the stages.
Sunken Shard #2 – Tree Near the 128 Speed Area
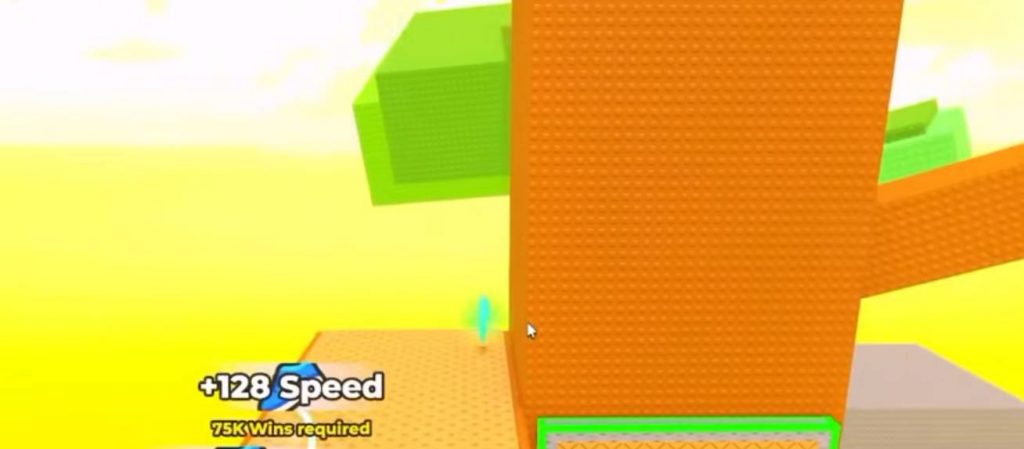
The second collectible is located near the section that requires around 128 Speed.
Look for a small tree in this area and climb onto it. The shard is resting on top, making it easy to miss if you simply run past the obstacle. Jump onto the tree to collect your second Sunken Shard.
Sunken Shard #3 – Stage 5 Platform
Continue progressing until you reach Stage 5.
Once there, climb onto the upper platform where the next shard is waiting. It’s placed in plain sight, so as long as you explore the elevated section of the stage, you shouldn’t have much trouble finding it.
Sunken Shard #4 – Hidden Behind the Stage
After collecting the previous shard, don’t rush to the next checkpoint.
Instead, head back slightly and look behind one of the nearby structures. A hidden area contains the fourth Sunken Shard. It’s tucked away enough that many players walk right past it during a normal playthrough.
Sunken Shard #5 – Drop-Off Location
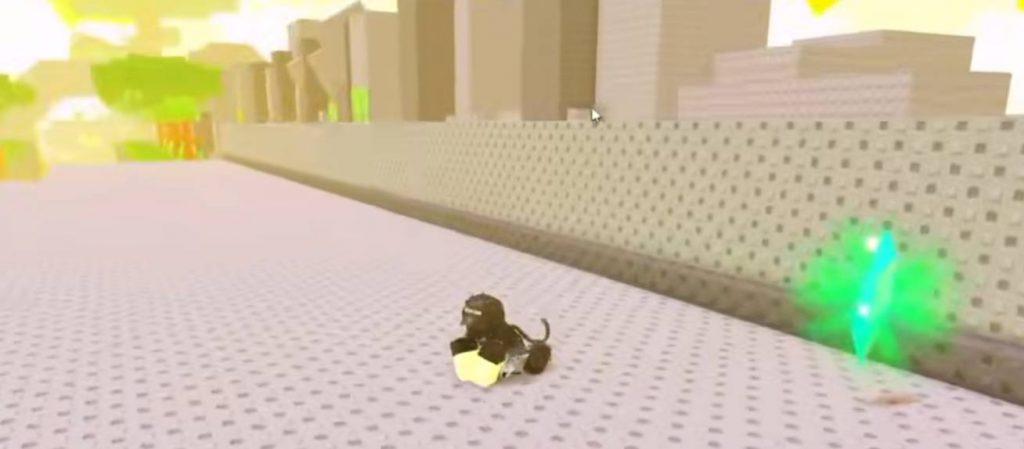
The fifth shard requires a bit of sacrifice.
You’ll need to intentionally drop off the edge to reach it. Although you’ll successfully collect the shard, the fall causes your character to be eliminated shortly afterward.
Fortunately, once you’ve picked up the shard, it remains collected, so don’t worry about losing your progress.
Sunken Shard #6 – Dangerous Shark Area
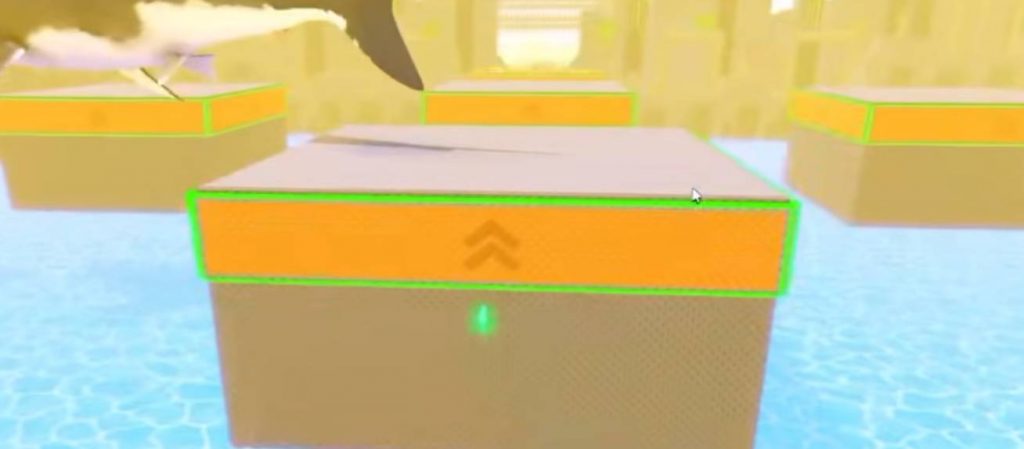
The sixth collectible is found during Stage 6, and it’s one of the more dangerous locations in the game.
To reach it:
- Progress to Stage 6.
- Carefully drop into the lower section.
- Grab the shard before the shark catches you.
In most cases, you’ll be defeated shortly after collecting it due to the nearby shark hazard. The important part is touching the shard before your character respawns.
Sunken Shard #7 – Hidden Corner in Stage 6
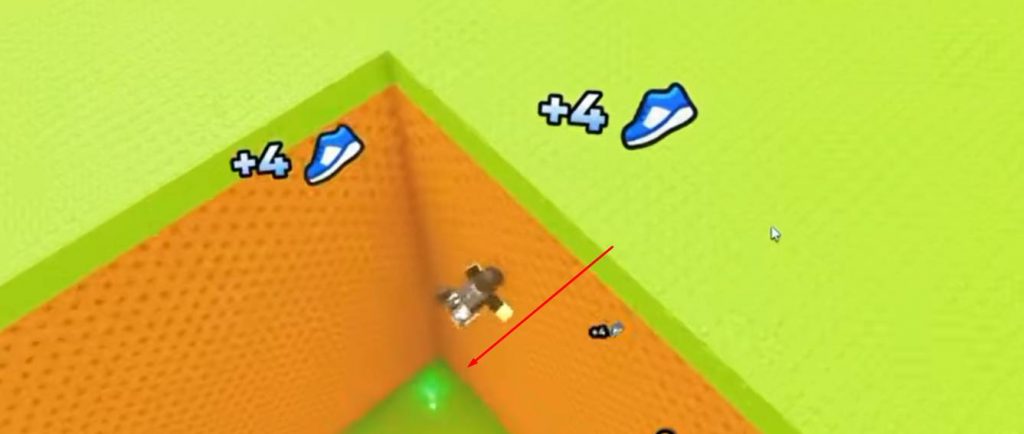
Remain in Stage 6 for the next collectible.
This shard is much harder to locate because it’s tucked into a corner away from the main route. Climb up the nearby wall, then carefully drop down into the hidden section below.
If you’re only following the intended obstacle course, you’ll likely miss this shard entirely.
Sunken Shard #8 – Lower Platform in Stage 6
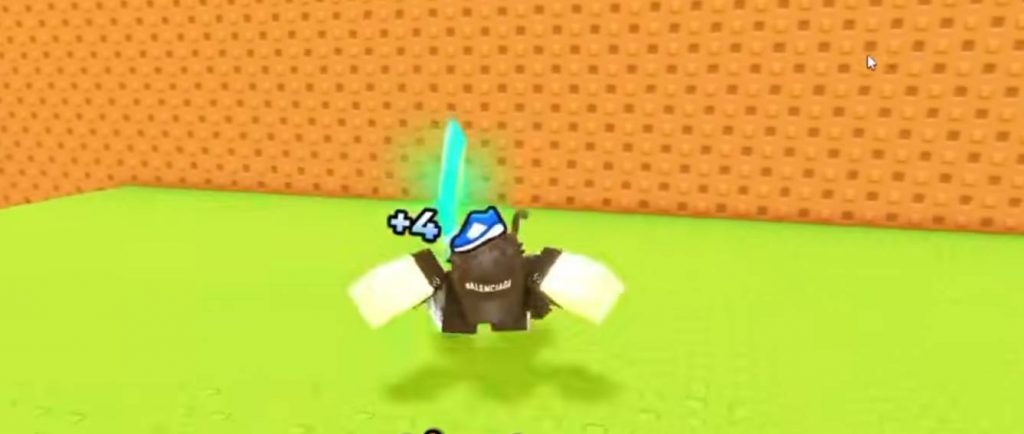
The eighth shard is also located within Stage 6.
From the main path, head toward the lower platform and carefully descend until you spot the collectible waiting below. Unlike some earlier shards, this one doesn’t require much exploration once you know the correct direction.
At this point, you’ll have collected 8 out of 9 Sunken Shards.
Sunken Shard #9 – Tsunami Area
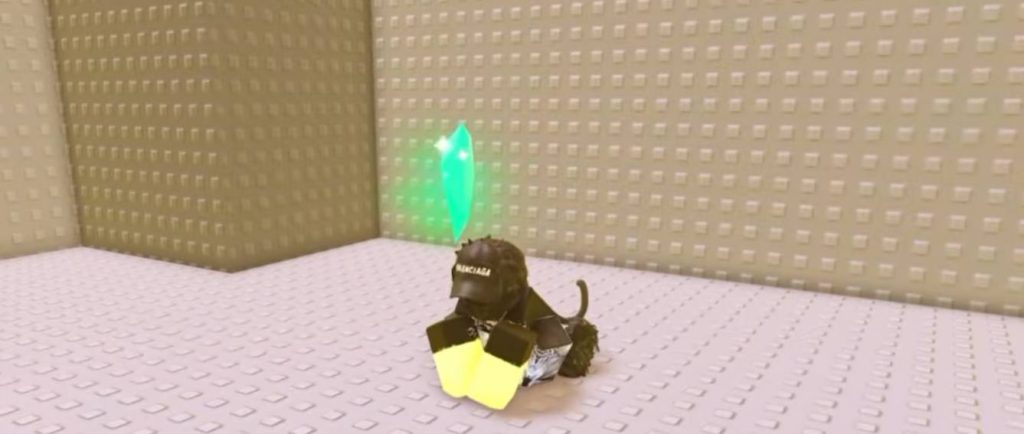
The final Sunken Shard is found near the Tsunami area, which appears later in the obstacle course.
Continue progressing through the remaining stages until you reach this section. The last shard is positioned near the Tsunami-themed area and serves as the final collectible needed to complete the set.
Once you’ve picked it up, you’ll have successfully collected every Sunken Shard in the game.
All Sunken Shard Locations at a Glance
Here’s a quick overview of every collectible:
- Shard #1: Behind the lobby leaderboards.
- Shard #2: On top of the tree near the 128 Speed area.
- Shard #3: Upper platform in Stage 5.
- Shard #4: Hidden behind a structure after Stage 5.
- Shard #5: Below a drop-off that eliminates your character after collection.
- Shard #6: Shark area in Stage 6.
- Shard #7: Hidden corner accessed by climbing and dropping down in Stage 6.
- Shard #8: Lower platform in Stage 6.
- Shard #9: Near the Tsunami area toward the end of the course.
Tips for Collecting Every Sunken Shard
Some shards are intentionally placed in dangerous areas, so expect to respawn after collecting a few of them. Keep these tips in mind while hunting them down:
- Collect the lobby shard before starting the obstacle course.
- Explore every corner instead of following only the main path.
- Don’t worry if you die after picking up a shard—it will still count.
- Take your time during Stage 6, as it contains three separate collectibles.
- Watch for hidden ledges and drop-down areas throughout the course.
Finding all nine Sunken Shards in +1 Speed Monkey Escape requires careful exploration, especially during Stage 5 and Stage 6 where several collectibles are hidden off the main route. While a few shards involve risky jumps or unavoidable deaths, they’re permanently added to your collection once touched. By following the locations listed above, you can quickly complete the Sunken Shard hunt and avoid wasting time searching every corner of the map.
+1 Speed Monkey Escape!