


Disease Era The Veil Guide, Progression & How to Finish

The Disease Era is the first major part of the progression in The Veil. It starts with simple quests and enemy farming, but the difficulty slowly increases as you travel to new areas, fight stronger bosses, and collect special items.
If you want to complete the Disease Era and unlock the next era, there are several steps you need to follow. This guide covers what the Disease Era is, how to finish the full progression, and some useful tips to make the process easier.
What Is Disease Era?
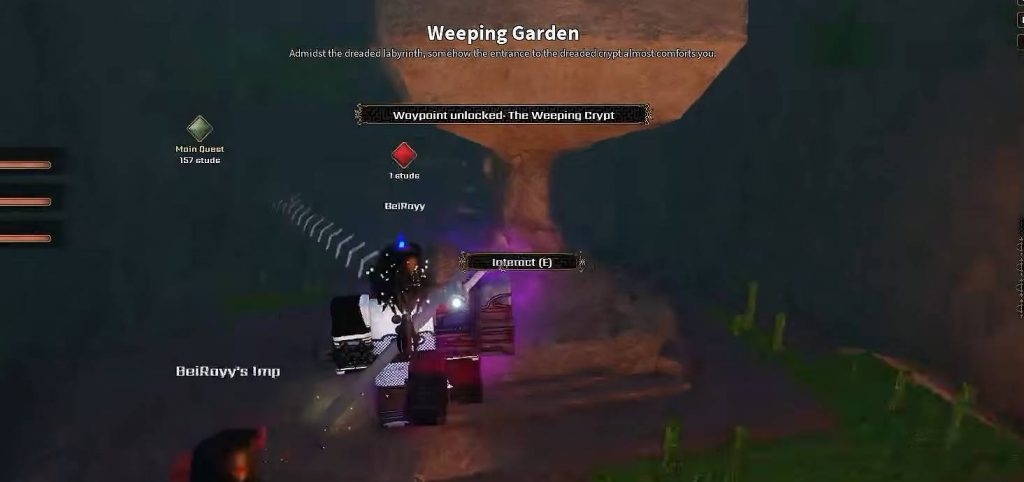
Disease Era is the first era that players progress through in The Veil. It introduces many of the game’s main systems, including quests, weapon enchanting, boss fights, special items, different areas, and stronger equipment.
You will begin by completing basic quests such as defeating mobs. From there, the game sends you through different locations where you need to collect items and defeat bosses before you can continue.
The progression also introduces several optional bosses. Some of them can provide useful loot or special items, while others are connected more directly to the overall progression.
One important thing to remember is that nighttime can be useful for farming because more mobs can appear. However, staying outside at night can also reduce your sanity, so you need to balance farming with your survival.
How to Finish Disease Era The Veil Guide

1. Complete the Early Quests
Start by following the main questline and completing the early objectives. One of the first longer quests requires you to defeat 30 mobs.
This should not take too long, especially if you are playing with another player. Use the early enemies to earn Silver and improve your equipment while working toward the quest requirement.
2. Enchant Your Weapon
After completing the early quests, you will eventually be required to enchant your weapon with a gem.
The original progression had the enchantment cost set at 200 Silver. This was later reduced to 100 Silver, but you should still make sure you have enough Silver before reaching this step.
The enchantment you receive can vary. For example, Poison can be one of the possible weapon enchantments.
3. Defeat the Early Bosses
After enchanting your weapon, the progression starts sending you toward boss encounters. Some of these bosses are not particularly difficult, but you still need to learn their attacks.
Ranged weapons can be very useful during these fights because you can stay away from dangerous attacks while continuing to deal damage.
You may also encounter the Puppeteer during nighttime. The Puppeteer is much stronger than the early quest bosses, but defeating it can reward you with useful loot such as Elite equipment.
4. Continue Through Runner’s Camp and Westfall
Continue following the quests toward Runner’s Camp and then Westfall. During this part of the progression, you will encounter more enemies and additional objectives.
Take some time to open chests and collect equipment along the way. You may find better weapons or armor that can make the later boss fights easier.
Westfall can also be dangerous because you may encounter groups of enemies or other players. Avoid rushing through the area if your health or resources are already low.
5. Defeat the Highling Titan
The Highling Titan is another boss that you can encounter while progressing through the world. This boss is important because it can drop a useful progression item.
Having multiple players attack the boss makes the fight much easier. However, remember that loot is not always guaranteed, even if you participate in the fight.
After defeating it, check your inventory and bestiary to keep track of the items and enemies you have discovered.
6. Explore Silverhold
Continue toward Silverhold and explore the surrounding areas. You can find useful items such as the Iron Key during this part of the journey.
Do not only follow the quest marker. The world contains hidden areas and chests that can provide extra equipment and materials.
7. Defeat the Glade Boss
Another major fight takes place around the Glade. This boss can create illusions, making it look like there are multiple enemies around you.
The boss also has attacks that can blind you, so keeping your distance is helpful. A ranged build can make this encounter much easier because you can attack without constantly standing next to the boss.
After defeating the boss, collect everything you can before leaving the area.
8. Visit the Gem Head Area

While exploring, you can find an area connected to the Gem Head people. There is a gem-based system here that costs around 500 Silver.
This works like a gamble because you spend Silver for a chance at different rewards. If you are still early in your progression, saving your money for equipment and other requirements may be more useful.
9. Defeat the Goblin Warlock
The Goblin Warlock can also appear around the Glade. This is another boss where having several players around can make the fight much easier. However, boss drops are not guaranteed. You may defeat the boss and receive nothing, so do not worry if the loot does not appear immediately.
Keep farming the boss if you need a specific drop and make sure your inventory has enough free space.
10. Get Fire Essence
Later in the progression, you will need to travel to the Scorch Basin. This area contains enemies that can drop Fire Essence. The drop can be frustrating because you may need to defeat many enemies before obtaining it. If you are unlucky, just keep farming the required enemies until the item finally drops.
Fire Essence is an important part of continuing the progression, so do not leave the area until you have the required item.
11. Obtain the Smoldering Horn
After completing the necessary steps in the Scorch Basin, you can obtain the Smoldering Horn. Keep important quest items in your inventory because some of them are required for later encounters. Festered Meat is another important item that becomes relevant near the end of the Disease Era.
12. Summon the Final Boss
The final part of the Disease Era requires you to use Festered Meat at an altar. This triggers the final boss encounter. Before activating the altar, make sure you are properly prepared. Check your weapon, armor, healing items, and other resources because the fight is much harder than the earlier bosses.
Once the fight begins, you will need to stay inside the arena and defeat the boss rather than simply running away.
13. Defeat the Final Boss
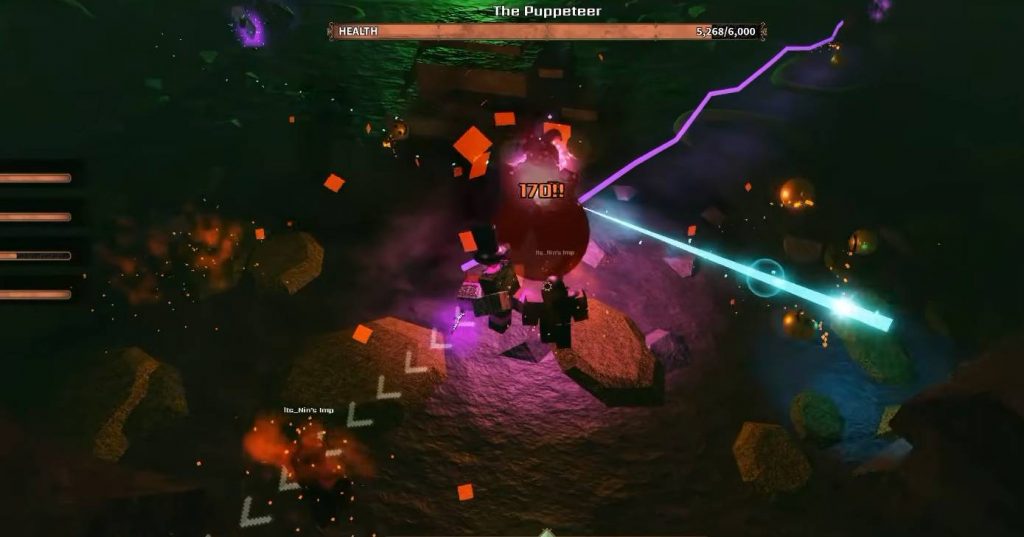
The final boss of the Disease Era has around 9,000 HP, making it a huge step up from the earlier bosses.
The fight requires good movement and healing management. If you are playing with friends, try to coordinate your attacks instead of everyone attacking randomly.
Do not waste your healing items too early. Pay attention to your health and attack when there is a safe opening.
After a failed attempt, learn from what went wrong and try again. With better timing and preparation, the boss becomes much more manageable.
14. Enter the Primordial Era
Once the final boss is defeated, you have completed the Disease Era. You can then continue through the next door and enter the Primordial Era.
This is where the next part of The Veil’s progression begins, with more areas, enemies, quests, and challenges waiting ahead.
Finishing the Disease Era in The Veil takes more than simply following the main quest marker. You will need to farm enemies, collect special items, upgrade your equipment, defeat several bosses, and eventually face the powerful final boss.
The best approach is to take your time during the early areas and prepare properly before each major encounter. Once you defeat the final boss and complete the required progression, you can move on to the Primordial Era and continue exploring everything The Veil has to offer.
The Veil