


Graveyard Keeper 2 Zombie Guide, How to Create, Upgrade and Use!
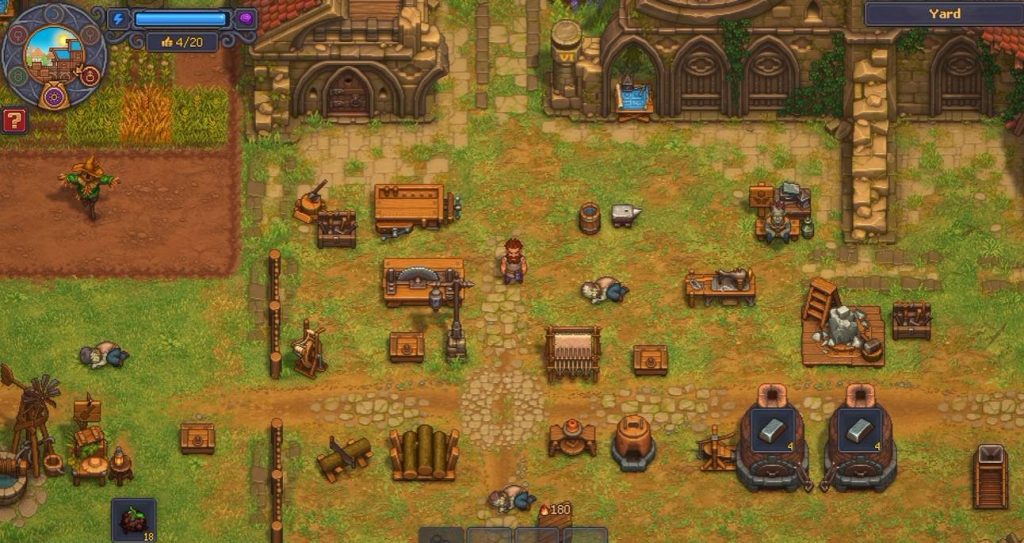
Zombies can become some of the most useful workers in Graveyard Keeper 2 once you have the right technologies and facilities. They can handle crafting, gathering, farming, and even join your zombie army, allowing you to automate parts of your work instead of doing everything yourself.
However, zombies do not automatically know how to perform every task. You need to provide the correct tools, reach the required mastery levels, and build the right stations. This guide explains how zombie workers function, how to create your own zombies, how to improve their stats, and how to use them in combat.
How to Make Zombies Work
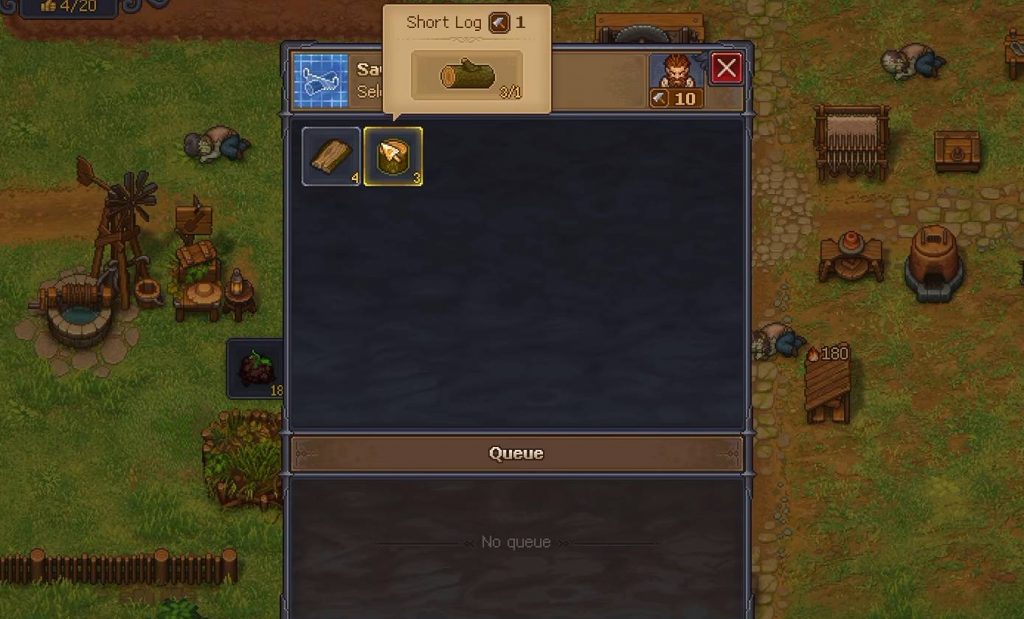
The first important technology for zombie automation is Zombie Assistant. Unlocking it gives you access to the Zombie Supplier station, which is needed to move resources between storage and crafting stations.
Your working zombies cannot handle the transportation of materials themselves. Instead, Zombie Suppliers handle the logistics. They take the required materials from storage, bring them to the crafting station, and move finished products back to the appropriate storage location.
The basic setup is simple:
- Unlock Zombie Assistant technology.
- Build a Zombie Supplier station.
- Place the supplier close to your crafting station.
- Put the necessary storage containers nearby.
- Assign a zombie to the crafting station.
- Make sure the zombie has the required tool and mastery.
Once everything is connected properly, the zombie can continue working without you manually moving every resource.
Zombie Mastery Explained
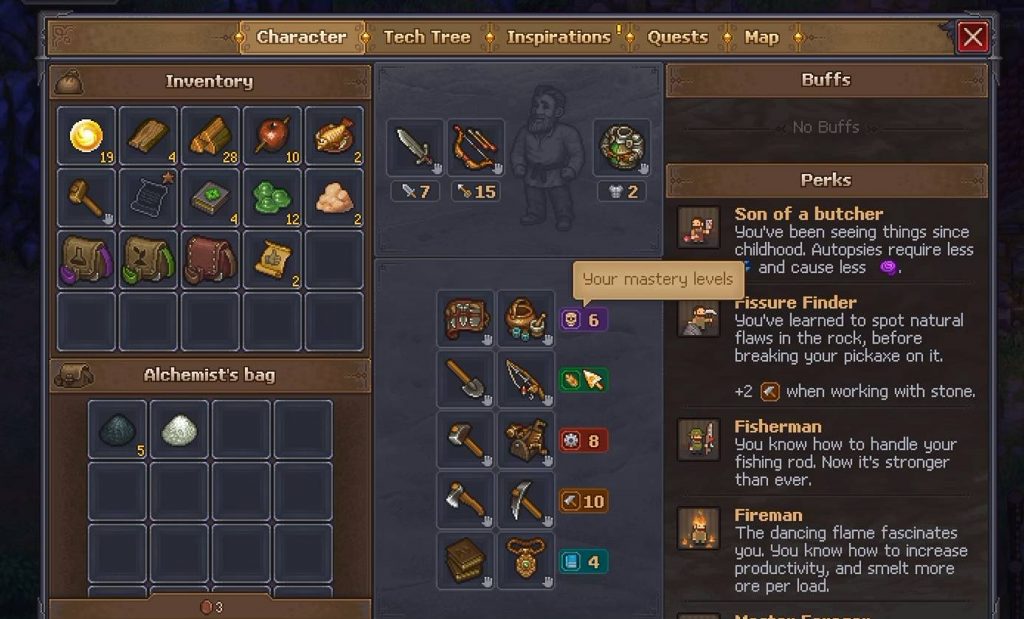
Every zombie has mastery levels, similar to the Keeper. These mastery levels determine which jobs the zombie is capable of performing.
When checking a crafting recipe, you will see the required mastery for the task. Your zombie must reach that level before it can produce the item. A zombie with insufficient mastery will not be able to perform that particular job.
Zombies can handle many of the same crafting jobs as the Keeper, provided that their mastery is high enough. This makes mastery one of the most important things to check before assigning a zombie to a workstation.
Give Zombies the Correct Tools
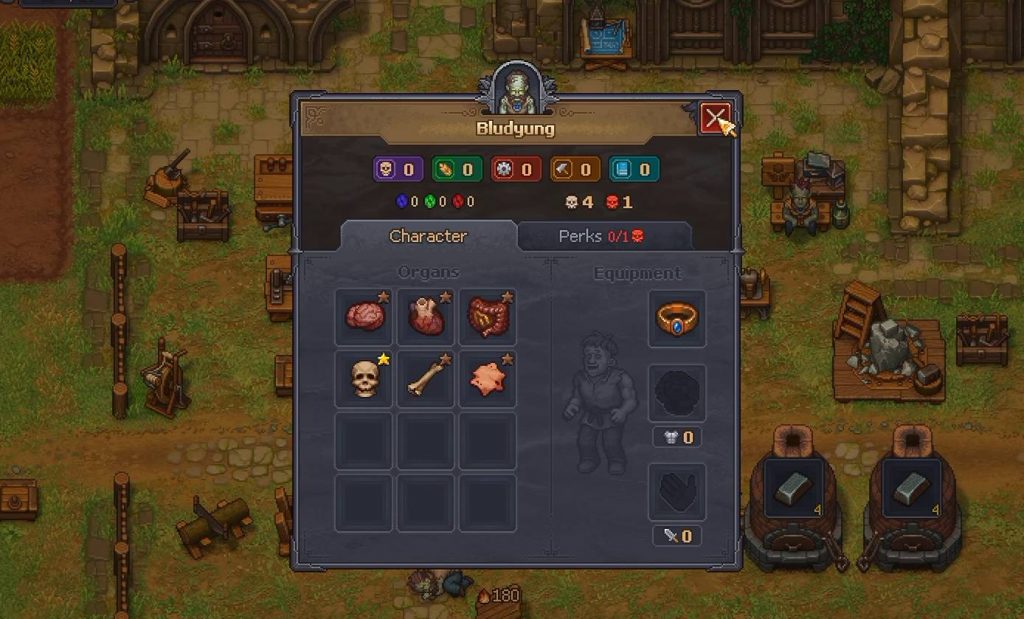
Zombies can equip tools to perform certain tasks. At the beginning, their equipment system is fairly simple because they do not immediately have access to the complete perk system.
A zombie can only equip one tool at a time, so you need to provide the correct equipment for the job. Some activities require a specific tool in addition to the necessary mastery level.
For example, certain animal-related tasks require a hammer. Other jobs will tell you exactly which tool the zombie needs, so check the station or recipe before assigning the worker.
If a zombie appears to be doing nothing, the first things to check are its mastery level and equipped tool.
How Zombie Crafting Works
Once the required station and logistics are available, assigning a zombie to crafting is relatively straightforward.
Go to the crafting bench and choose the item you want to produce. Select the number of times you want the item crafted and add the recipe to the queue.
After that, the zombie can handle the production process as long as the required resources are available. You also need a suitable container where the finished products can be placed.
The basic process is:
- Place the required materials in storage.
- Make sure a Zombie Supplier can access the storage.
- Assign a suitable zombie to the crafting station.
- Check the zombie’s mastery.
- Equip the required tool.
- Select a recipe at the crafting station.
- Set the production quantity.
- Add the recipe to the queue.
- Let the zombies handle the remaining work.
This system can be used for many different crafting and resource-gathering activities.
Using Zombies for Resource Gathering
Zombies are not limited to crafting benches. They can also be used at certain resource deposits around the map.
When a suitable resource location is available, the same basic logistics system applies. You need the appropriate station, supplier, tool, and mastery level.
This can be especially useful for resources that you need in large quantities. Instead of repeatedly gathering everything yourself, you can assign zombies to suitable resource locations and allow them to work automatically.
How Zombie Gardening Works
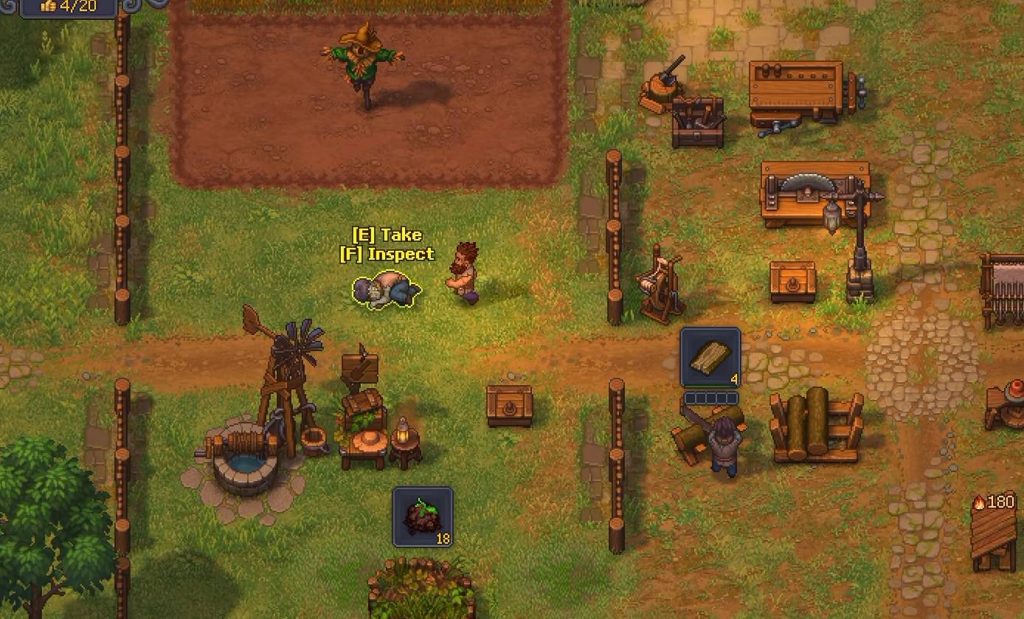
Gardening works slightly differently from normal zombie crafting. You need to unlock the Zombie Gardening technology and build a Gardener Stand before your zombies can take care of crops.
The lifting crane is associated with later factory progression, so it is not necessary for getting started with basic zombie gardening.
You also need to give your farming zombie a shovel. Without the correct tool and enough farming mastery, the zombie will not be able to handle the assigned crops properly.
Assign Crops With Farming Tablets
Simply placing a zombie at the Gardener Stand will not make it start farming. You need to tell the zombie which fields it is responsible for.
After unlocking the required technology, you can use the farming tablets to assign a specific crop to a line of fields. Once a tablet has been placed, the zombie knows what should be grown there and can handle the work automatically.
You can remove these tablets whenever you want, and doing so does not cost anything. They are essentially instructions that tell your zombie what crop to maintain.
For example, placing a wheat tablet on the appropriate field tells the farming zombie to handle wheat production in that area.
Should Zombies Handle High-Quality Crops?
Although zombie farming is extremely useful, you may not want to give every field to your zombies.
The Keeper’s farming mastery has a major effect on the amount and success rate of crops produced. Because of this, higher-quality or more valuable crops can be better handled manually by the Keeper if your farming mastery is significantly higher.
Zombies are generally more useful for crops that you need in large quantities. This lets them handle repetitive farming while you focus on more valuable or demanding activities.
A good approach is to use zombies for mass production and save your own farming time for crops where your higher mastery makes a noticeable difference.
How to Create Your Own Zombies
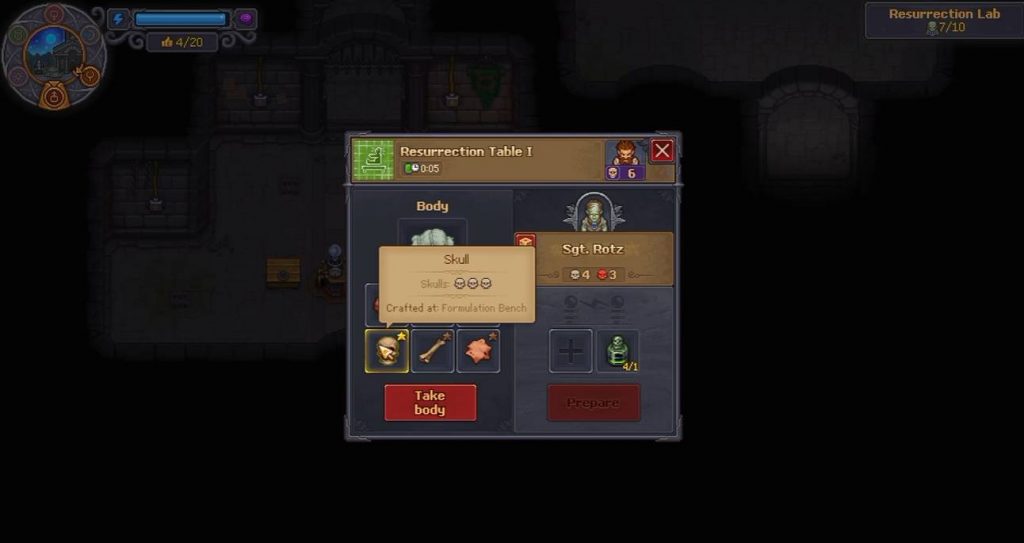
Creating zombies is tied to story progression, so you cannot immediately start producing your own undead workers.
You first need to unlock the necessary story content and gain access to the required room and resurrection technology. Once that progression is complete, you can begin gathering the materials needed to create zombies.
You will need several important items, including:
- Resurrection technology
- A Resurrection Table
- Reanimation Liquid
- A suitable zombie collar
- Materials for crafting the collar
- Jewelry Table
- Resources obtained from the swamp
Reanimation Liquid can be purchased from the Astrologer. The materials needed for certain collars include blue crystals found in the swamp, while other requirements are unlocked through story progression and technology.
How to Resurrect a Zombie
After you have unlocked the Resurrection Table and collected the required resources, you can begin the resurrection process.
Place the corpse on the table and provide the appropriate collar. The quality of the collar determines how much potential the resulting zombie has.
Once everything is prepared, you need to wait for the appropriate day and activate the resurrection mechanism. Pull the lever when the conditions are ready, and the corpse will be turned into a zombie worker.
The normal system allows you to create one zombie per day because of the available electricity. Without additional methods to bypass this limitation, you should plan your zombie production around this daily limit.
Zombie Collar Requirements
Zombie collars determine the potential specialization of your workers. Different collar qualities support different numbers of red skulls.
The progression includes:
- Basic collar: Up to 5 red skulls
- Gold collar: Up to 10 red skulls
- Higher-end collar: Up to 99 red skulls
This means that creating a zombie is only the beginning. If you want a highly specialized worker, you need to work toward better collars and stronger zombie stats.
How to Improve Zombie Stats
Improving zombies becomes much easier once you understand how their organs and skulls affect their stats.
The more organ types you learn to identify, the more control you gain over a zombie’s attributes. Different organs are connected to different statistics, allowing you to replace certain body parts to improve the resulting zombie.
White skulls are not harmful, but they do not provide useful benefits for zombie specialization either. Red skulls are much more important because they influence the zombie’s potential and the number of perks it can eventually learn.
Replace Zombie Organs
You can replace organs at the autopsy table. This allows you to remove an organ from one body and place another organ into the zombie.
The process consumes some stamina and sanity, but the body parts themselves can be changed relatively freely.
This gives you a way to build zombies around specific jobs. For example, instead of accepting the stats of the first body you find, you can gradually improve the organs and create a worker better suited to a particular role.
Embalming Can Improve Zombies
Some zombie stat slots cannot be filled simply by replacing organs. These areas are connected to the embalming system.
Once you unlock the relevant embalming technology, you can use embalming fluids on corpses and zombies. Some advanced injections can add additional red skulls, improving a zombie’s potential.
However, these options are tied to later progression and require several technology and story unlocks. Early in the game, focus on learning the basic organ system before worrying about advanced zombie injections.
The general progression is:
- Learn how zombie organs affect stats.
- Replace useful organs at the autopsy table.
- Unlock embalming technology.
- Gain access to zombie-specific injections.
- Use those injections to improve red skull potential.
- Build more specialized zombies as better collars become available.
Zombie Experience and Perks
Zombies can gain experience while working, just like the Keeper. As they gain enough experience, they can unlock perks that improve their abilities.
These perks can provide additional abilities or increase mastery, allowing the zombie to handle more advanced tasks.
The number of perks a zombie can learn is connected to its number of red skulls. This makes red skulls important not only for the zombie’s base potential but also for its long-term specialization.
A zombie with five red skulls has a limited specialization capacity, while higher-quality zombies can eventually gain access to considerably more perk points.
Use Zombies in the Barracks
After winning your first battle, you can unlock the zombie squad feature in the barracks.
Take a zombie to the barracks and look for the manacles on the ground. This area is where your zombie squad will be stationed.
Combat zombies require basic equipment before they can be useful in battle. You can provide them with weapons and armor, with zombie weapons including options such as:
- Pikes
- Bows
You can continue adding more zombies to the squad and equip them with better gear as your resources improve.
Use Extra Zombies for Your Army
Not every zombie needs to be carefully specialized for crafting or farming. Zombies with stats that are not particularly useful for a specific profession can still have value as combat units.
The barracks provide a place to use these extra zombies instead of leaving them without a purpose. Give them weapons and armor, then use them as part of your growing zombie force.
This can be a practical way to make use of bodies that you would otherwise struggle to specialize.
Beware of Having Too Many Zombies
Building a large zombie workforce sounds great, but there is a downside. Having too many zombies can trigger a penalty that reduces the effectiveness of your sermons.
This debuff becomes increasingly important as you expand your zombie population. It can become a problem around the same stage where the game begins giving you better options for mass-producing zombies.
Fortunately, the Astrologer can provide methods to reduce or manage the excessive zombie penalty.
How to Reduce the Excessive Zombie Penalty
The Astrologer offers tools that can help you deal with the negative effect caused by having too many zombies.
One method involves Hypno Devices, which can be charged using your Scriptorium. Later progression also introduces newspapers as another way to help manage the penalty.
These systems become important if you plan to build a large zombie workforce. Instead of stopping your automation completely, you can work toward the tools that allow you to support a bigger undead population.
Best Ways to Use Zombies
For most players, zombies are most valuable when used to automate repetitive tasks. You do not necessarily need every zombie to have perfect stats. Good jobs for zombies include:
- Mass crafting
- Resource gathering
- Basic farming
- Mining
- Production tasks
- Barracks combat
- Jobs that require repeated manual input
For high-value crops or specialized production, the Keeper may still be more efficient when their mastery is significantly higher.
Zombies can completely change how you manage your work in Graveyard Keeper 2. Once the required technologies and logistics are unlocked, they can gather resources, operate crafting stations, maintain farms, gain experience, unlock perks, and even fight as part of your zombie squad.
The most important things to remember are mastery, tools, logistics, and zombie quality. Make sure each worker has the correct tool and enough mastery for its assigned task, while Zombie Suppliers handle the movement of materials.
As you progress, you can start creating better zombies by managing their organs, red skulls, collars, perks, and embalming upgrades. Just keep an eye on your total zombie population, because building a huge army can eventually reduce the effectiveness of your sermons.
Graveyard Keeper 2