


GTA 6 Selfie Guide: How to Take Photos, Use Filters, and Access Photo Studio
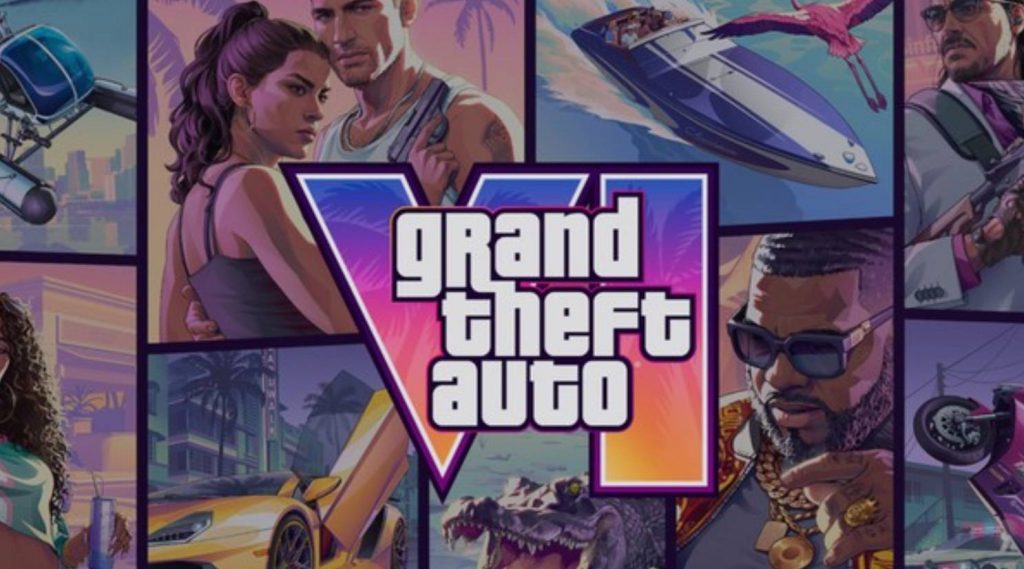
Grand Theft Auto VI features impressive graphics, detailed character models, and beautiful environments across Vice City and Leonida. With realistic hair physics, character animations, and plenty of interesting locations, players will probably want to capture their favorite moments while exploring the open world.
Fortunately, GTA 6 includes several photography features that let you take regular pictures, selfies, and more detailed screenshots. You can use the smartphone camera to capture quick moments or access Photo Studio for additional editing options and visual effects.
Both features offer different ways to customize your pictures, including filters, character poses, lighting, and camera adjustments. Here’s how to take photos and selfies in GTA 6, along with a complete explanation of the available camera controls.
How to Take Photos and Selfies in GTA 6
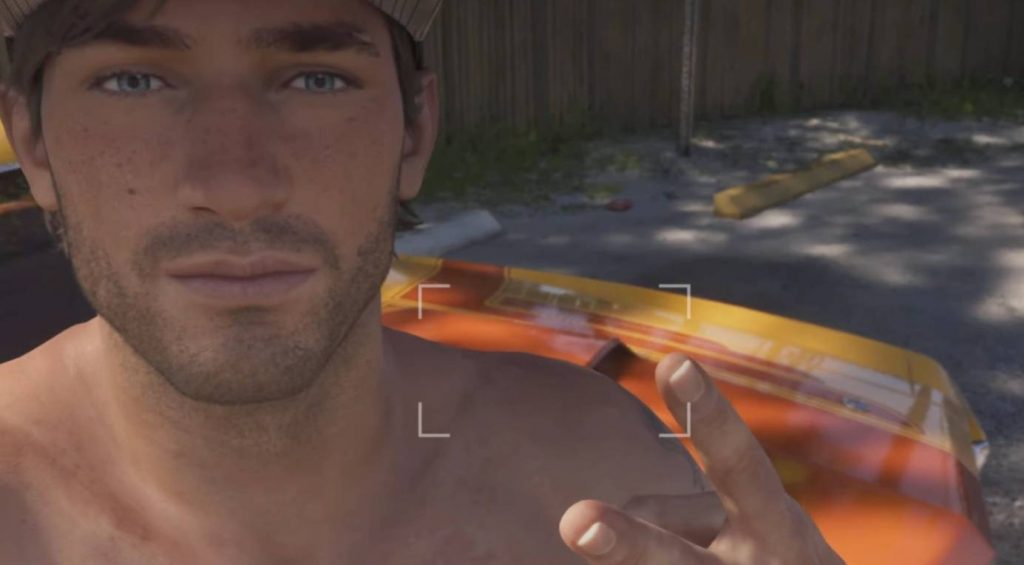
Just like in GTA 5, smartphones play an important role in GTA 6. Besides receiving calls, reading messages, browsing social media, and accessing other applications, your phone also includes a camera that allows you to capture pictures during your adventure.
You can use the camera to photograph Vice City’s scenery, interesting vehicles, character moments, or even the chaos happening around you. The smartphone also supports front and rear cameras, so you can switch between regular photography and selfies.
However, you need to progress through the early story before accessing this feature. Once you gain control of Jason and enter the open world, you can start using his smartphone camera.
Follow these steps to take photos:
- Progress through the opening story until you gain control of Jason.
- Enter the open world and press D-Pad Up on your controller to open your smartphone.
- Navigate to the Camera application.
- Select the camera to enter photography mode.
- Use the front or rear camera depending on the picture you want to take.
- Adjust your character’s pose, expression, or available filters.
- Press R2 to capture your photo.
If you want to take a selfie, press R3 to switch to the front-facing camera. You can also use the available pose and expression options to change how Jason looks in the picture.
GTA 6 Phone Camera Controls
Here are all the currently listed smartphone camera controls in GTA 6:
- Take Photo: R2
- Light On/Off: L1
- Partner Pose: L3
- Front/Rear Camera: R3
- Change Pose: D-Pad Up / Down
- Expression/Filter: D-Pad Left / Right
- Open Gallery: Triangle
- Exit Camera: Circle
These controls allow you to adjust your pictures without leaving the camera application. You can experiment with different poses and expressions before taking the final shot.
GTA 6 Phone Camera Features and Effects
The smartphone camera in GTA 6 offers more than just a basic screenshot function. It includes several features that allow you to change the appearance of your photos before capturing them.
Some options are available for both camera modes, while others are exclusive to either the front-facing or rear-facing camera.
Features Available for Both Cameras
Both the front and rear cameras include a few basic photography functions.
- Take Photo: Captures the current image displayed on your smartphone screen.
- Light: Turns the camera flash on or off when taking pictures.
- Gallery: Allows you to view previously captured photos.
These options are useful when you want to capture something quickly without opening the more advanced Photo Studio feature.
Rear Camera Features
The rear-facing camera provides additional controls for taking pictures of the environment, vehicles, and other subjects.
- Show Grid: Displays a 3×3 grid that helps you position and align your shots.
- Selfie: Switches to the front-facing camera.
- Zoom: Allows you to zoom in on subjects by up to 5x.
- Filter: Applies one of up to 17 available visual filters to your pictures.
The zoom function is particularly useful when photographing objects or characters from a distance. Meanwhile, the available filters let you change the overall appearance of your images without using external editing tools.
Front Camera Features
The front-facing camera is designed specifically for selfies and character photography. It includes several customization options that let you adjust how your character appears in each picture.
- Partner Pose: Changes your partner’s pose when taking a selfie.
- Rear Camera: Switches back to the rear-facing camera.
- Pose: Changes Jason’s body position, with up to six available options.
- Expression: Changes Jason’s facial expression, with up to seven available options.
You can combine different poses and facial expressions to create more interesting selfies. This is particularly useful when taking pictures with another character or capturing specific moments during your adventure.
How to Use Photo Studio in GTA 6
If the smartphone camera doesn’t provide enough customization options, GTA 6 also features a dedicated Photo Studio mode. Unlike the regular phone camera, this feature offers more advanced settings for players who want to create detailed screenshots.
You can access Photo Studio through the game’s pause menu. Open the menu, find the Photo Studio option, and select it to enter the dedicated photography interface.
Once inside, you’ll be able to move the camera freely, adjust its position, zoom in or out, and change the viewing angle. There are also several additional settings that let you customize lighting, colors, visual effects, and other elements of your screenshot.
Photo Studio features five main settings categories.
1. Camera Settings
The Camera section controls how your screenshot is framed and how the virtual camera behaves. It includes several options that allow you to adjust the composition and focus of your picture.
Available settings include:
- Camera movement speed
- Grid lines
- Camera rotation
- Aspect ratio
- Field of view
- Depth of field
- Aperture
- Focus distance
- Hide character
These options are useful when you want to capture specific details or create cinematic screenshots. For example, adjusting the depth of field can help make your main subject stand out while keeping the background less prominent.
2. Effects Settings
The Effects section provides additional controls for adjusting the visual appearance of your screenshots. You can change the overall image quality and create different visual styles depending on your preferences.
Available options include:
- Exposure
- Contrast
- Highlights
- Shadows
- Saturation
- Sharpness
- Grain
- Temperature
- Tint
- Gamma
- Lens flare
- Bloom
- Chromatic aberration
You can experiment with these settings to create brighter, darker, warmer, or more cinematic images. This section is particularly useful if you want your screenshots to have a specific visual style.
3. Lighting Settings
Lighting is another important part of photography, and GTA 6’s Photo Studio gives you additional control over how light appears in your screenshots.
You can add up to five lighting layers and customize their individual properties. These settings allow you to change the lighting intensity, color, and beam angles.
This gives you more control over how characters, vehicles, and surrounding objects appear in your pictures. You can also experiment with different lighting arrangements to create a more dramatic result.
4. Vehicle Settings
The Vehicle section allows you to include and customize vehicles in your screenshots. This is especially useful if you want to take pictures of your favorite cars or create more detailed automotive shots.
Available options include:
- Show or hide your character’s vehicle.
- Control headlights.
- Adjust brake lights.
- Toggle turn signals.
- Control fog lights.
These options provide more flexibility when photographing vehicles. You can adjust the lighting to match the environment or create a particular atmosphere for your screenshots.
5. Overlays Settings
The final section is Overlays, which focuses on additional visual effects and filters. It includes several options that can change the appearance of your screenshot without requiring external editing software.
Available options include:
- Gameplay effects
- Visual filters
- Filter intensity
- Vignette
- Color isolation
You can adjust the intensity of these effects to achieve your preferred result. Color isolation, for example, can help emphasize specific colors while changing how the rest of the image looks.
How to Save Photos in GTA 6
After adjusting all the settings in Photo Studio, you can save your finished screenshot directly to your console’s capture gallery.
Once you’re satisfied with the composition, select Save Photo and hold the assigned controller button to capture the image. The screenshot will then be saved to your console’s capture gallery.
From there, you can view your pictures and use your console’s available sharing features to send them to friends or upload them to supported platforms.
Remember that the smartphone camera and Photo Studio serve slightly different purposes. The phone camera is more convenient when you want to take quick selfies or capture unexpected moments while exploring Vice City.
Meanwhile, Photo Studio is the better choice when you want more control over camera positioning, lighting, filters, and other visual settings.
Taking photos and selfies in GTA 6 is a simple way to capture memorable moments throughout your adventure in Vice City and Leonida. The smartphone camera provides convenient options for quick pictures, while its filters, poses, and expressions give you more ways to customize your selfies.
If you want more advanced photography controls, Photo Studio offers additional settings for camera positioning, lighting, visual effects, and vehicle customization. Whether you’re taking a simple selfie with Jason or creating detailed screenshots of your favorite vehicles, GTA 6 provides plenty of options to experiment with.
GTA 6